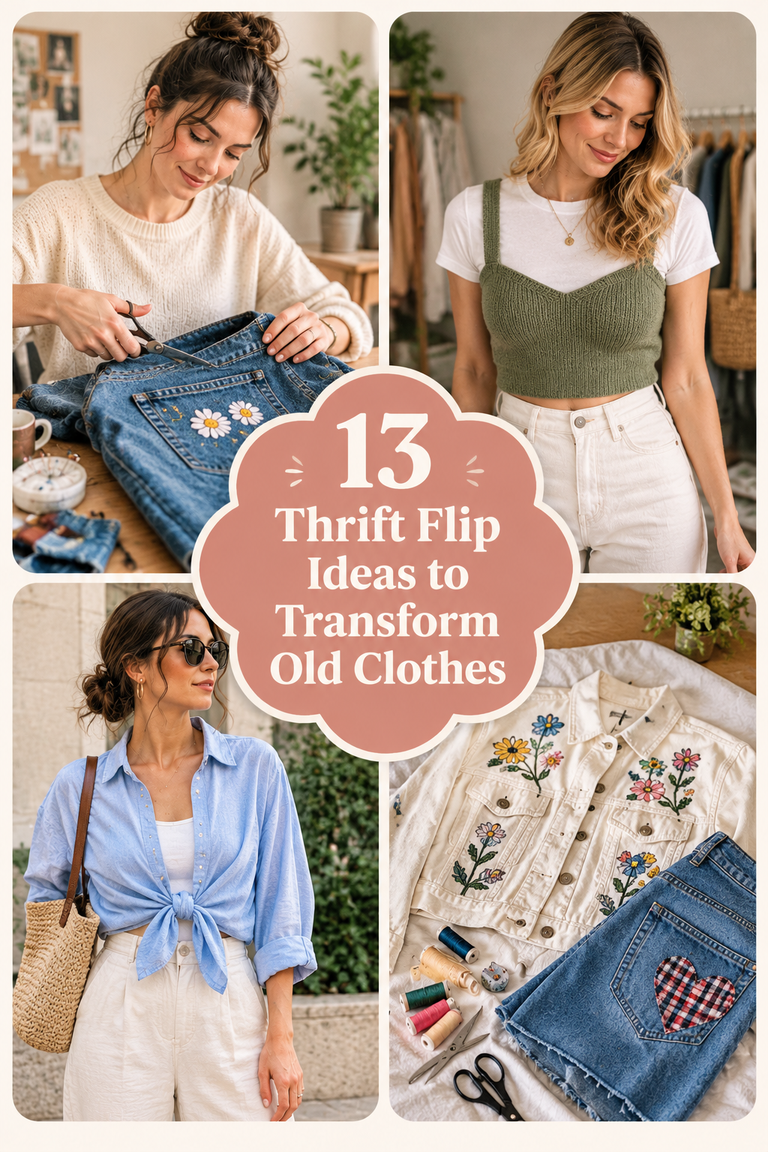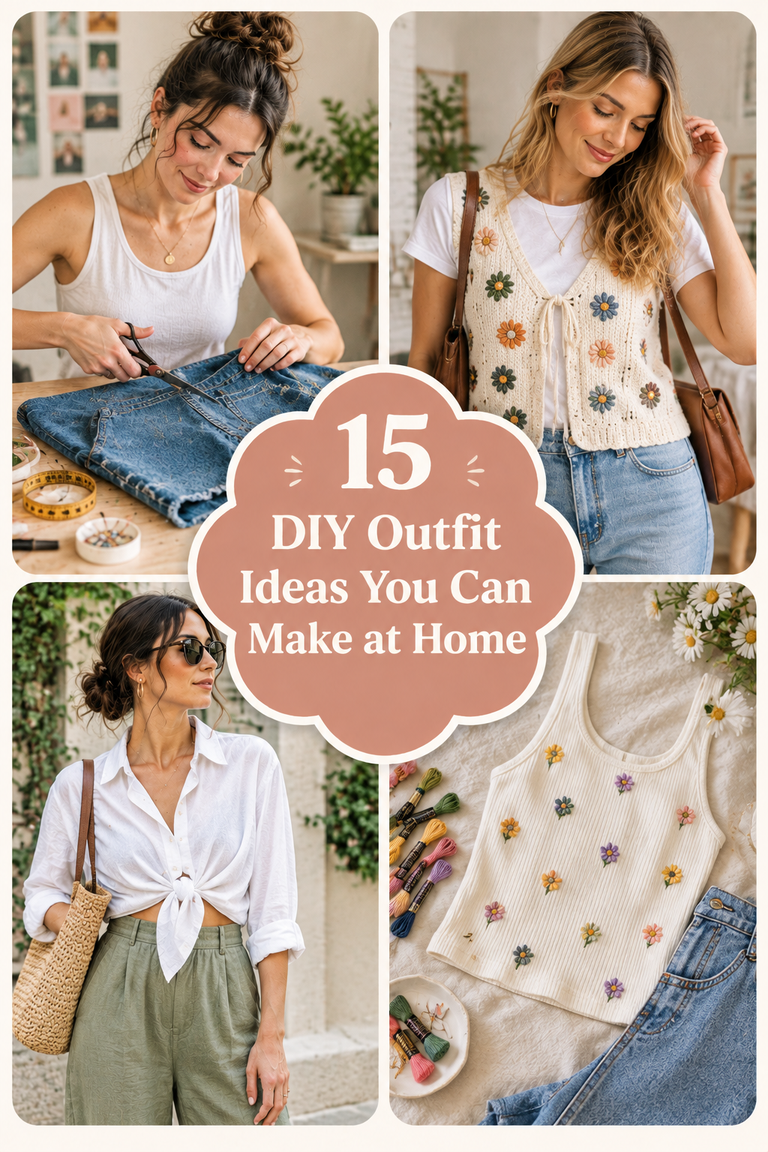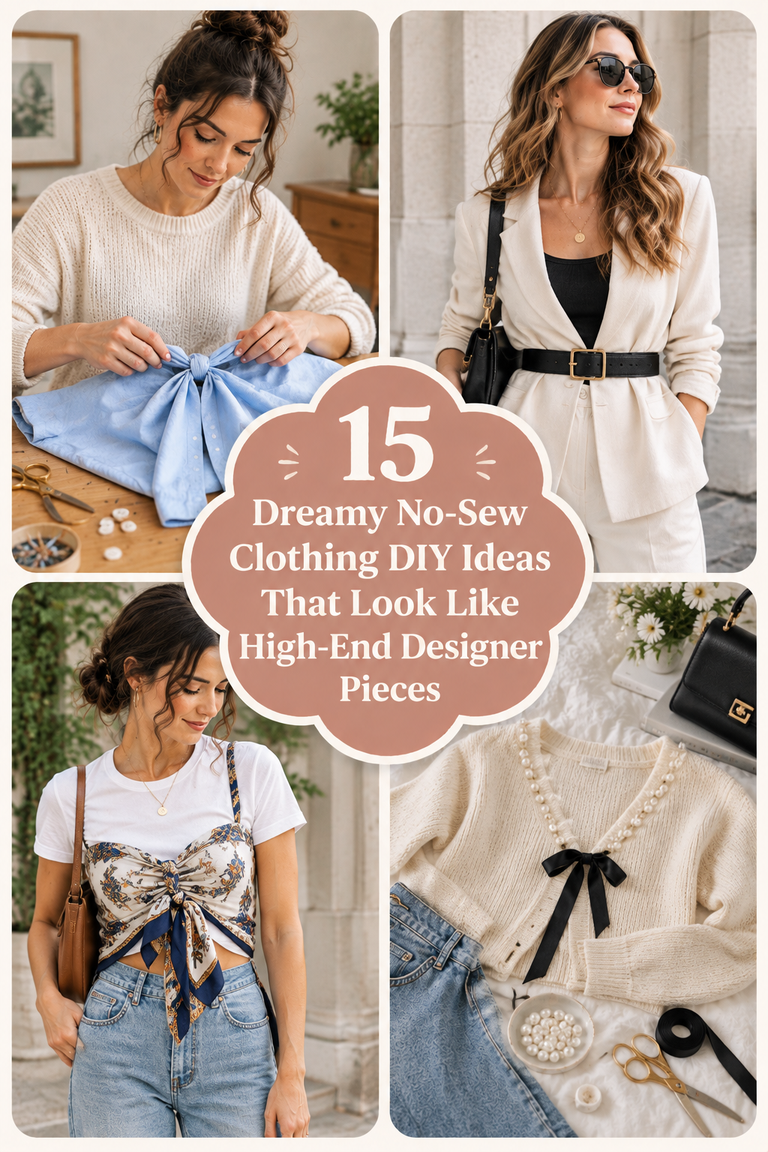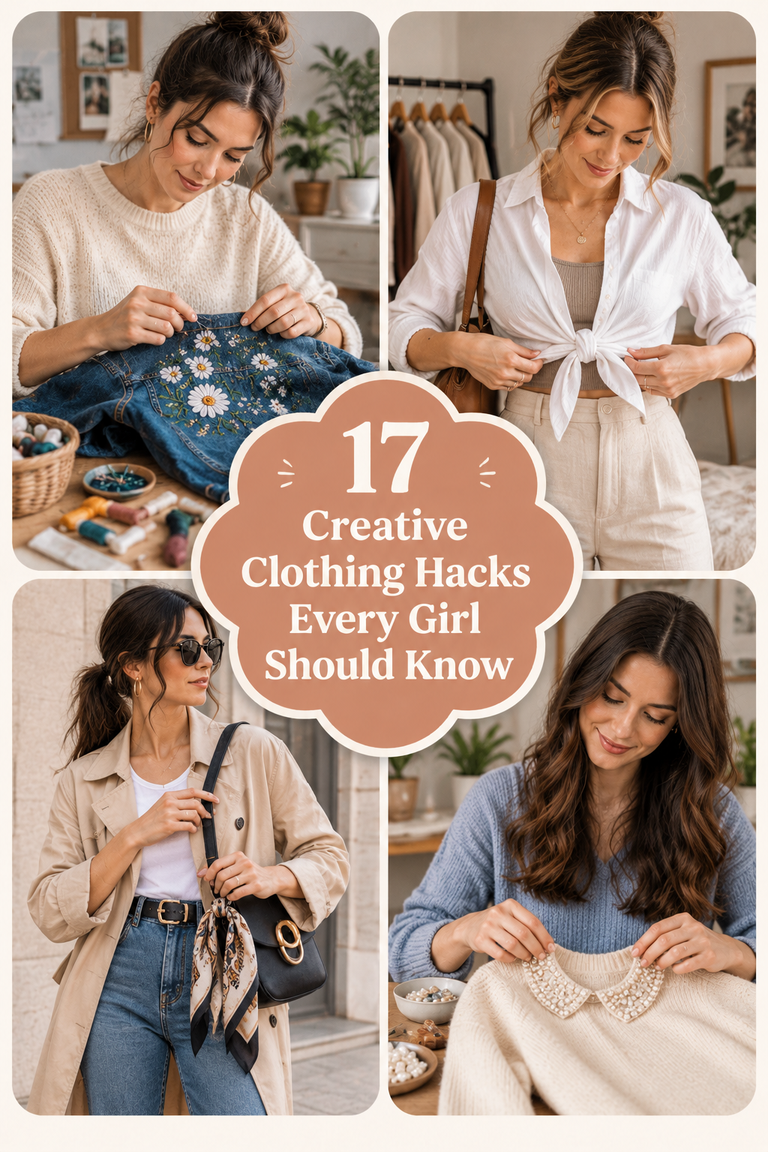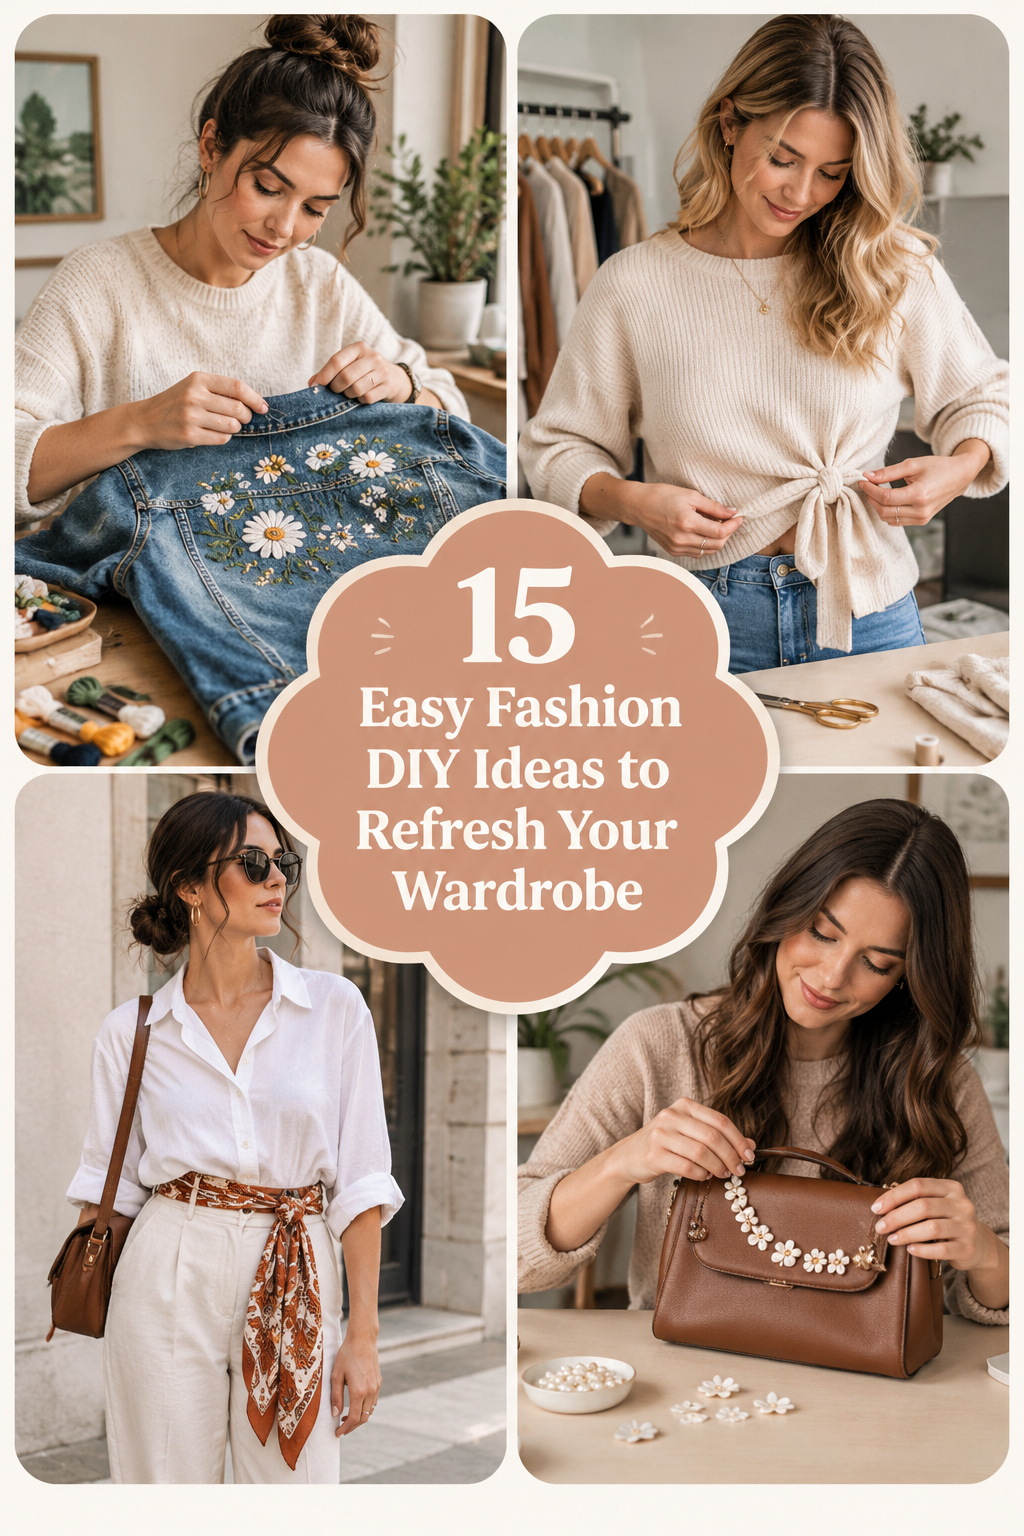
15 Easy Fashion DIY Ideas to Refresh Your Wardrobe
Refreshing your daily wardrobe does not demand endless shopping trips or massive spending. Creative garment upgrades instantly breathe exciting new life into forgotten clothing pieces. Fast fashion creates overwhelming clutter while draining your hard-earned financial resources quickly. Upcycling older clothes provides an eco-friendly path toward personal, distinctive style. You can effortlessly transform plain basics into striking, high-end runway statement pieces. Simple sewing and no-sew techniques unlock limitless creative wardrobe design possibilities. Pinterest feeds are constantly buzzing with viral, innovative upcycled fashion transformations. You already own the essential raw materials needed for these stylish projects. Refreshing tired garments lets your authentic creative personality shine through your outfits.

Reinventing Everyday Clothes with Zero Complicated Skills
Most beginner crafters assume wardrobe refashioning requires expert tailoring or commercial machines. In reality, basic scissors and fabric glue yield stunning boutique-quality garments. Simple cuts and strategic knots easily redefine loose, unflattering cotton t-shirts. Meanwhile, decorative hand stitches add intentional, artisanal charm to worn denim jeans. You only need a curious mindset and modest, affordable household supplies. Transforming basic apparel builds immense personal confidence while honing valuable creative talents. Every finished garment project carries a distinct narrative of sustainable resourcefulness. Sustainable fashion choices significantly reduce landfill waste while celebrating individual self-expression.
Why Custom Upcycled Fashion Truly Matters
Modern commercial apparel often suffers from repetitive patterns and uninspired fast trends. Upcycling allows you to reject generic aesthetics in favor of personalization. You control the exact fit, neckline silhouette, and tactile fabric textures. Custom adjustments celebrate your unique body proportions far better than off-the-rack garments. Furthermore, working with soft fabrics provides deeply relaxing, mindful weekend craft therapy. Repurposing unworn clothes gives forgotten fabrics an exciting second chance at life. You become the visionary creative director of your personal daily closet. Stylish upcycling ensures you never show up wearing someone else’s duplicate look.
Smart Wardrobe Auditing Before You Begin
A successful closet restyle always starts with an honest, thorough wardrobe edit. First, pull out garments you have not worn in over six months. Separate these hidden pieces into piles based on fabric weight and color. Look closely at structural shapes rather than current dated details or stains. An oversized masculine button-up holds incredible potential for feminine cropped blouses. Faded blue jeans can easily transform into chic frayed cutoff shorts. Keep a small basket stocked with versatile notions like needles and elastic. Sourcing cheap vintage buttons from thrift shops elevates plain thrifted blazers instantly.
Styling Upcycled Garments with Modern Confidence
Wearing custom refashioned apparel requires thoughtful, balanced daily styling choices for outfits. Pair an eye-catching distressed denim jacket with sleek, minimalist tailored trousers. Contrast bold, textured fabric patches against clean, solid neutral background garments. Thoughtful accessory choices like metallic jewelry anchor handcrafted clothes with modern polish. Let your hero refashioned piece take absolute center stage in every outfit. When compliments arrive, you will proudly share that you designed it yourself. Sustainable style looks remarkably chic when executed with clean, intentional design lines. Small design details elevate ordinary thrifted garments into high-end fashion statements.
Setting Up a Beginner Fashion Craft Corner
Setting up a comfortable, flat work surface makes clothing alterations seamless. Spread a wide rotary cutting mat across a clear kitchen table. Good overhead lighting prevents frustrating visual eye strain during precision hand-stitching tasks. Gather sharp fabric shears, tailor’s chalk, safety pins, and measuring tapes. Regular paper scissors will crush delicate garment fibers instead of slicing cleanly. Keep an iron plugged in nearby to press flat crisp folded hems. Pressing your seams makes handmade alterations look instantly clean and commercially manufactured. Neat organization keeps your creative energy flowing smoothly throughout fun afternoon projects.
1. Chic Raw-Hem Cropped Boxy Graphic Tee

Vintage graphic tees often sit unused inside drawers due to awkward lengths. Cropping a boxy t-shirt flatters high-waisted denim and modern linen shorts. You do not need a sewing machine to achieve this viral street look. A deliberate raw hem naturally rolls upward into a relaxed, effortless edge.
Transforming Baggy Shirts into Modern Crop Silhouettes
Long t-shirts frequently bunch up awkwardly around hips, ruining sleek outfit proportions. Cropping the hem creates a flattering horizontal line across your natural waist. The relaxed boxy silhouette pairs effortlessly with fitted skirts or cargo trousers. This quick ten-minute project instantly rescues neglected vintage concert shirts with ease.
Materials Needed for Cropped Tees
- Oversized vintage cotton graphic t-shirt
- Ultra-sharp fabric shears or rotary cutting blade
- Clear acrylic sewing ruler or flexible measuring tape
- Tailor’s chalk or disappearing fabric ink marker
- Heavy domestic iron with high-steam garment setting
Step-by-Step Cropped Tee Instructions
- Try on your oversized graphic t-shirt in front of mirrors.
- Locate your natural waistline using your fingers and visual cues.
- Mark target crop line carefully using soft tailor’s chalk.
- Lay the t-shirt completely flat on clean hard tables.
- Align bottom side seams and armpits flat to prevent wrinkles.
- Draw a crisp straight line across with your acrylic ruler.
- Slice along the chalked line using sharp fabric shears slowly.
- Pull raw cut edge firmly with hands to encourage curling.
- Steam the rolled edge using your hot garment steam iron.
- Style your cropped top with high-waisted trousers and sleek sneakers.
2. Trendy Distressed Raw-Edge Denim Cutoffs

Ill-fitting denim jeans often accumulate dust inside bedroom closets for years. Converting stiff outdated jeans into distressed cutoff shorts saves significant shopping money. Designer shorts often cost fortunes for simple factory rips and frayed threads. You can customize the exact rise, inseam length, and distressing details easily.
Giving Stiff Vintage Jeans a Summer Resurfacing
Finding comfortable denim shorts that fit both waist and thighs feels impossible. Custom cutting your own jeans ensures the most flattering, personalized leg fit. Subtle pocket peek-throughs and frayed hems deliver that coveted vintage festival aesthetic. You control the modesty level by adjusting your tailored inseam markings.
Materials Needed for Denim Cutoffs
- Pair of 100% cotton vintage thrifted denim jeans
- Heavy-duty tailor shears capable of slicing thick denim seams
- Coarse 60-grit sandpaper block or metal cheese grater tool
- Pointed craft seam ripper or blunt metal embroidery tweezers
- Washable fabric marker and flexible sewing measuring tape
Step-by-Step Denim Cutoff Transformation
- Put the jeans on and stand straight before large mirrors.
- Mark your desired short length with washable fabric markers carefully.
- Add one inch below your initial mark for safety hem.
- Remove jeans and lay them flat upon your work table.
- Cut across legs at gentle upward angles toward outer seams.
- Ravel bottom raw edge threads outward using fine embroidery tweezers.
- Rub coarse sandpaper vigorously over pocket edges for realistic vintage wear.
- Scrape pocket areas using cheese graters to reveal white threads.
- Run altered shorts through washing machines to boost authentic fraying.
- Snip away excessively long hanging threads with sharp fabric shears.
3. High-End Pearl-Embellished Denim Jacket Collar
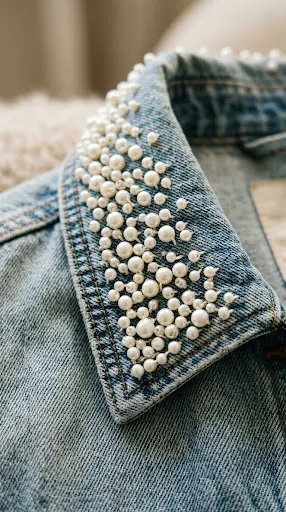
Structured denim jackets serve as timeless outerwear staples across every fashion season. Adding delicate pearl beads introduces romantic luxury contrast to rugged twill weave. Boutique brands regularly sell embellished denim jackets for hundreds of retail dollars. Hand-sewing pearls along the collar requires only basic, repetitive thread loops.
Merging Rugged Denim with Feminine Romantic Accents
Dark and light wash denim jackets can sometimes feel overly casual. Lustrous white pearls elevate blue jackets into sophisticated evening layering pieces. Placing embellishments along collars frames your face with luminous, jewelry-like visual texture. This easy project brings instant high-end designer appeal to plain outerwear.
Materials Needed for Embellished Collars
- Classic blue or faded black rigid cotton denim jacket
- Assorted flat-backed or drilled faux pearl beads in sizes
- High-strength clear nylon beading thread or white polyester thread
- Fine hand-sewing needle thin enough to pass through beads
- Small craft jewelry pliers and sharp embroidery thread snips
Step-by-Step Pearl Embellishing Tutorial
- Lay the denim jacket collar flat upon clean craft tables.
- Arrange various pearl bead sizes across collar wings for testing.
- Cluster larger pearls near corners while scattering smaller pearls inward.
- Thread your fine needle and tie sturdy double anchor knots.
- Insert needle from collar underside through to top fabric side.
- Slide the first pearl bead securely down along sewing thread.
- Push needle back down closely through denim behind pearl edge.
- Repeat stitching process twice per pearl for ultimate lasting security.
- Continue sewing pearls across collar points in organic scattered formations.
- Knot thread three times securely beneath the sturdy collar fabric.
4. Vintage Men’s Shirt Tie-Front Cropped Blouse
Thrift store men’s sections overflow with high-quality crisp cotton button-up shirts. Their durable fabrics and classic stripes offer fantastic upcycling potential for wardrobes. Converting an oversized shirt into a feminine tie-front blouse takes twenty minutes. The cropped front ties cinch your waist while dropping casually in back.
Reimagining Masculine Tailoring with Feminine Flatter
Oversized menswear looks chic, but voluminous fabric can overwhelm petite frames. Slicing off excess fabric allows you to craft adjustable front waist ties. The resulting silhouette highlights your waist while keeping cool, relaxed dropped shoulders. It transitions effortlessly from sunny beach days to smart casual offices.
Materials Needed for Tie-Front Blouses
- Men’s oversized 100% cotton button-down long-sleeve dress shirt
- Sharp dressmaker fabric shears
- Flexible sewing tape measure and tailor’s marking chalk pencil
- Matching cotton sewing thread and basic hand-sewing craft needle
- Hot steam iron for pressing crisp, clean finished hems
Step-by-Step Tie-Front Shirt Tutorial
- Put on the shirt and button up center chest buttons.
- Mark your natural waistline directly along the front button placket.
- Lay shirt flat and mark two diagonal lines forming ties.
- Cut straight across back panel at your measured natural waist.
- Cut front panels downward into two long triangular tie tails.
- Fold raw fabric edges inward by one-quarter inch all around.
- Press folded edges flat with your hot steam clothes iron.
- Fold edges once again inward to encase all raw threads.
- Stitch along pressed folds using neat, tiny running hand stitches.
- Tie front tails securely into a chic knot at waist.
5. Artistic Bleach-Dye Botanical Painted Sweatshirt

Monochromatic crewneck sweatshirts often look cozy but lack distinct visual excitement. Bleach painting creates striking, permanent golden botanical patterns across dark fleece. The technique mimics vintage sun-faded textile prints without buying expensive textile dyes. It allows you to paint leaves, celestial motifs, or modern abstracts.
Designing Wearable Fine Art with Household Supplies
Plain black or navy loungewear can feel repetitive during colder seasons. Transforming simple cotton fleece with household bleach yields an earthy, boutique aesthetic. The bleach extracts rich terracotta and warm cream undertones from dyes. Each hand-painted garment becomes an entirely one-of-a-kind wearable piece of art.
Materials Needed for Bleach Art
- 100% cotton black, navy, or forest green crewneck sweatshirt
- Regular household liquid laundry bleach poured into glass bowls
- Small synthetic watercolor paintbrushes with firm, pointed bristle tips
- Thick corrugated cardboard sheet wrapped in protective plastic cling film
- Basin of cold water mixed with hydrogen peroxide neutralizing bath
Step-by-Step Bleach Painting Guide
- Slide plastic-wrapped cardboard inside sweatshirt to prevent rear seepage.
- Sketch botanical leafy branches lightly using soft white chalk pencils.
- Dip your fine synthetic paintbrush lightly into pure liquid bleach.
- Dab excess bleach onto paper towels before painting your fabric.
- Paint deliberately along chalk lines, watching dark pigment lift away.
- Allow bleach to react for ten minutes until golden orange.
- Plunge sweatshirt immediately into cold water and peroxide neutralizing bath.
- Rinse fabric thoroughly under running tap water until completely clear.
- Machine wash sweatshirt on gentle cycle using mild laundry detergent.
- Dry sweatshirt completely to reveal permanent, soft-to-the-touch custom artwork.
6. Romantic Shirred Ruffle-Edge Milkmaid Top

Milkmaid tops remain wildly popular for romantic, cottagecore-inspired fashion aesthetics. Elastic thread creates comfortable, stretchy gathers known within sewing as shirring. You can transform basic square cotton bandanas into flattering smocked tops. The flexible elastic hugs your torso comfortably without needing complicated zippers.
Crafting Flattering Stretchy Silhouettes with Elastic Thread
Structured corsets often feel restrictive and uncomfortable during warm summer days. Shirred fabric stretches effortlessly with your movements while providing gentle shaping. Adding delicate gathered ruffle trims brings playful, feminine softness to necklines. This charming project proves that custom tailored tops need zero rigid boning.
Materials Needed for Shirred Tops
- Two large 100% lightweight cotton bandanas or fabric squares
- Spool of elastic sewing thread for hand or bobbin winding
- Spool of regular matching polyester thread for garment construction
- Hand sewing needle or home sewing machine setup
- Thin ribbon or matching cotton cords for dainty shoulder straps
Step-by-Step Shirring Technique
- Stitch the two fabric squares together along one side seam.
- Wind elastic thread carefully onto your machine bobbin by hand.
- Set your machine to standard straight stitch with normal tension.
- Sew parallel horizontal lines spaced half an inch apart downward.
- Watch the flat fabric gather smoothly into stretchy textured smocking.
- Continue sewing parallel lines until entire chest panel is shirred.
- Close the remaining open side seam with a straight stitch.
- Cut four matching lengths of ribbon for sweet shoulder ties.
- Stitch ribbon straps securely onto inside top front and back.
- Tie shoulder straps into pretty bows and adjust chest comfortably.
7. Artisanal Visible Mending Sashiko Denim Patchwork

Ripped jeans do not need to be hidden or thrown away. Japanese Sashiko embroidery celebrates garment repairs with bold, geometric white stitches. Instead of concealing worn knee tears, visible mending highlights fabric histories. It transforms structural wardrobe flaws into striking, intentional artisanal fashion statements.
Celebrating Garment Longevity with Geometric Embroidery
Mass-produced clothing encourages rapid disposal at the first sign of wear. Embracing visible mending connects you with sustainable, mindful fashion traditions. Thick white geometric embroidery thread creates captivating visual contrast against blue denim. The resulting textured patches reinforce delicate fabric while adding designer-grade character.
Materials Needed for Sashiko Mending
- Pair of worn denim jeans featuring knee or pocket tears
- Contrast fabric scrap like vintage indigo linen or floral cotton
- Traditional thick white Sashiko cotton thread or embroidery floss
- Long, sturdy Sashiko embroidery needle with sharp pointed tip
- Temporary fabric basting glue stick or small sewing safety pins
Step-by-Step Visible Mending Process
- Turn jeans inside out and trim loose frayed thread webs.
- Cut contrast fabric patch one inch larger than hole perimeter.
- Position patch behind rip using temporary fabric craft glue sticks.
- Turn jeans right-side out and check patch placement over hole.
- Draw geometric grid lines over patch using soft tailor’s chalk.
- Thread your long Sashiko needle with double-strand white cotton floss.
- Stitch parallel running stitches across rip using even, rhythmic lengths.
- Turn garment and stitch perpendicular lines to create tiny crosses.
- Keep stitch tension balanced to avoid puckering your denim fabric.
- Knot threads securely inside the garment to finish durable patch.
8. Bohemian Frayed-Edge Ribbon-Trimmed Kimono

Flowing lightweight kimonos instantly elevate plain tank tops and denim shorts. Buying breezy bohemian dusters from boutique retailers often carries hefty prices. However, a single lightweight rectangular scarf easily converts into chic outerwear. Adding decorative cotton crochet fringe along hems delivers carefree festival vibes.
Assembling Breezy Layering Pieces from Large Scarves
Summer layering can feel tricky without overheating under heavy cardigans. Featherlight silky scarves provide sun protection while floating gracefully with motion. Constructing armholes requires only two simple straight seams along folded edges. It is one of the easiest beginner wardrobe sewing projects imaginable.
Materials Needed for Boho Kimonos
- Large lightweight rectangular summer scarf, pashmina, or sarong
- Yard of cotton crochet ball fringe or woven tassel trim
- Matching polyester all-purpose thread and fine hand-sewing needle
- Measuring tape and small sharp tailor’s embroidery scissors
- Several nickel-plated dressmaker sewing pins with colorful ball heads
Step-by-Step Scarf Kimono Tutorial
- Fold your long rectangular scarf exactly in half widthwise evenly.
- Smooth out folds and align outer perimeter edges cleanly together.
- Measure an eight-inch opening from folded edge down side seams.
- Pin the side edges together beneath that eight-inch armhole.
- Hand-stitch or machine-sew the pinned sides down to bottom.
- Cut a straight vertical slit down top center front layer.
- Pin cotton crochet ball trim along bottom raw hem perimeter.
- Sew decorative trim carefully along edge using matching polyester thread.
- Press all finished seams flat using low-heat clothing iron settings.
- Slip your arms through holes and wear over summer basics.
9. Upscale Designer Ribbon-Stripe Athleisure Leggings

Plain black athletic leggings often look functional but visually repetitive. Luxury activewear brands charge exorbitant prices for simple contrast grosgrain side striping. You can recreate that chic athletic aesthetic using basic craft ribbons. Adding vertical side stripes elongates your legs while delivering elevated street-style polish.
Adding Sleek Contrast Details to Everyday Activewear
Athleisure continues to dominate modern casual fashion around the world. Elevating basic workout leggings allows them to transition smoothly into cafes. Crisp grosgrain ribbon stripes down outer thighs deliver an instant sporty-luxe edge. The vertical lines create a slimming, streamlined silhouette for everyday outfits.
Materials Needed for Striped Leggings
- Pair of solid black matte spandex or cotton workout leggings
- Four yards of wide striped grosgrain or sporty woven ribbon
- Flexible stretch fabric adhesive or fine stretch-stitch sewing setup
- Ruler, tailor’s marking chalk, and safety pins for basting
- Heavy damp pressing cloth and domestic household steam clothes iron
Step-by-Step Ribbon Legging Tutorial
- Put on your black leggings so fabric stretches to shape.
- Have a friend pin ribbon down your natural outer seams.
- Remove leggings carefully to maintain pinned straight vertical ribbon placements.
- Lay leggings flat on an ironing board without overstretching fabric.
- Apply flexible stretch fabric glue evenly along underside of ribbons.
- Press ribbon firmly against leggings fabric, smoothing out air bubbles.
- Allow flexible fabric adhesive to cure undisturbed for four hours.
- Secure ribbon edges with tiny hand-sewn catch stitches along tops.
- Press ribbons through damp cloths with warm irons to set.
- Pair your sporty-chic leggings with oversized trench coats and sneakers.
10. Modern Ribbed Knit Cut-Out Shoulder Top

Asymmetrical cut-outs and exposed shoulders bring contemporary edge to knitwear. High-end designer boutiques charge premium prices for minimalist sliced long-sleeve tops. You can easily cut precise architectural openings into basic turtleneck shirts. Ribbed knit fabrics naturally drape cleanly around body curves without fraying.
Injecting Contemporary Edge into Basic Winter Layers
High-neck ribbed tops can sometimes feel conservative or visually boxy. Slicing away one shoulder creates a striking, modern asymmetrical silhouette. The exposed clavicle line adds subtle allure while maintaining modest sleeve coverage. It instantly updates standard cold-weather knitwear into sleek evening club attire.
Materials Needed for Cut-Out Tops
- Fitted ribbed cotton or modal turtleneck long-sleeve basic shirt
- Ultra-sharp rotary fabric cutter or pointed embroidery craft scissors
- Disappearing ink fabric marker or soft pastel chalk pencil
- Clear flexible liquid seam sealant to secure raw knit edges
- Curved French curve sewing ruler for tracing clean organic shapes
Step-by-Step Cut-Out Top Tutorial
- Put the fitted turtleneck on and look directly into mirrors.
- Trace an elegant oval cutout around one collarbone using chalk.
- Keep markings half an inch away from collar attachment seams.
- Take off the top and lay flat upon cutting mats.
- Slice cleanly through marked top fabric layer using rotary cutters.
- Do not cut through rear back fabric layer during slicing.
- Try top on again to check size and drape balance.
- Dab tiny drops of liquid seam sealant along raw knit.
- Allow liquid sealant to dry fully to prevent unwanted laddering.
- Style your modern architectural top with high-rise leather trousers.
11. Customized Hand-Painted Canvas Sneaker Upgrades
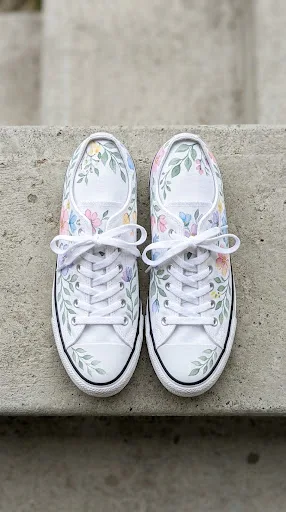
Plain white canvas sneakers are wardrobe essentials, but they lack uniqueness. Hand-painting custom pastel designs or floral sprigs makes shoes uniquely yours. Acrylic paint blended with fabric medium permanently bonds with cotton canvas fibers. It allows you to wear your custom artistic paintings wherever you stroll.
Transforming Basic Footwear into Walking Canvas Art
White canvas shoes often become scuffed and stained after months of use. Painting artistic floral motifs covers stubborn stains while refreshing worn footwear. Customized sneakers add a playful, handcrafted pop of joy to casual outfits. They make incredible conversation starters and showcase your distinctive artistic talents.
Materials Needed for Painted Sneakers
- Pair of clean plain white lace-up cotton canvas sneakers
- Textile acrylic fabric medium mixed with vibrant artist acrylic paints
- Set of fine-point synthetic detail brushes and small mixing palettes
- Blue low-tack painter’s masking tape to protect rubber soles
- Water-resistant clear acrylic matte protective spray coat for footwear
Step-by-Step Sneaker Painting Guide
- Remove shoelaces completely from both sneakers before starting your prep.
- Cover rubber soles and eyelets thoroughly with blue painter’s tape.
- Stuff sneaker toe boxes tightly with newspaper to create tension.
- Mix acrylic paint with textile medium in equal parts smoothly.
- Sketch delicate floral vines or geometric lines using light pencils.
- Paint fine design outlines using your smallest pointed detail brush.
- Fill petals and leaves with rich, layered contrasting acrylic tones.
- Let the acrylic paint dry undisturbed for twenty-four hours.
- Heat-set paint gently using hot air from hair dryers.
- Spray sneakers lightly with waterproof matte sealant before relacing shoes.
12. Edgy Chain-Detail Safety-Pin Punk Blazer

Tailored blazers often feel corporate and stiff when styled with casual clothes. Adding industrial safety pins and dangling chains injects rebellious punk elegance. Luxury designers regularly showcase safety pin hardware across runway outerwear collections. This high-impact refashioning project requires absolutely zero sewing or permanent fabric cutting.
Transforming Formal Outerwear with Hardware Accents
Oversized thrifted suits often lack youthful energy and dynamic street styling. Silver hardware details pierce heavy wool fabric, creating bold structural focal points. Clustering metallic safety pins along lapels mimics expensive jewelry brooches effortlessly. The shimmering chains catch room lighting dynamically as you walk and move.
Materials Needed for Hardware Blazers
- Oversized thrifted structured blazer in black, charcoal, or houndstooth
- Box of large heavy-duty nickel or brass craft safety pins
- Two feet of fine silver curb chain from craft stores
- Pair of small jewelry needle-nose pliers for opening chain links
- Chalk pencil for marking symmetrical spacing across blazer lapels
Step-by-Step Hardware Blazer Styling
- Lay the structured blazer flat upon a clean table surface.
- Mark horizontal pin locations down the left lapel with chalk.
- Insert large silver safety pins horizontally through the lapel fabric.
- Snap pins securely closed, keeping spacing even and aligned tightly.
- Continue pinning until lapel edge features an unbroken metallic row.
- Open link of your curb chain with small jewelry pliers.
- Loop open chain link onto the top lapel safety pin.
- Drape chain across chest to form an elegant swags curve.
- Connect opposite chain link to a lower safety pin point.
- Wear your edgy reconstructed blazer over a sleek slip dress.
13. Flirty Gathered Smocked-Waist Peplum Blouse
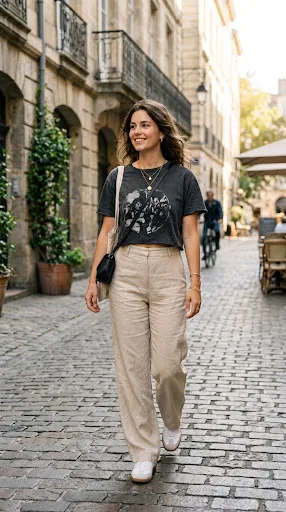
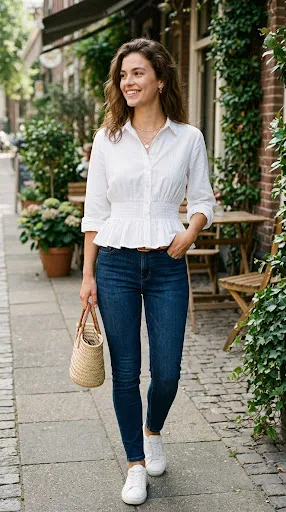
Boxy button-down shirts can look shapeless and unflattering when worn untucked. Adding an internal casing with elastic creates a waist-cinching peplum silhouette. The gathered waist highlights your hourglass proportions while flaring softly over hips. It converts rigid workwear shirts into romantic, weekend-ready date night blouses.
Cinching Boxy Silhouettes into Flattering Peplum Shapes
Unfitted dress shirts often swallow your natural figure, feeling bulky and stiff. Cinching the shirt directly at your narrowest waist point restores balance. The lower half of the shirt naturally flutters into sweet peplums. It creates an ultra-feminine silhouette that pairs perfectly with skinny jeans.
Materials Needed for Peplum Blouses
- Cotton button-up dress shirt that fits loosely through waist
- Length of one-inch-wide soft knitted elastic band for waistbands
- Spool of matching thread, sewing needle, and safety pin tool
- Package of single-fold bias tape to form elastic casings
- Fabric scissors, tailor’s measuring tape, and iron for crisp pressing
Step-by-Step Peplum Waist Construction
- Try on the shirt and button up all front buttons.
- Measure and mark your natural waist circumference with tailor’s chalk.
- Turn shirt inside out and lay flat upon your table.
- Pin bias tape across marked waistline to form hollow channels.
- Stitch top and bottom edges of bias tape to shirt.
- Leave half-inch openings at front plackets for inserting elastic.
- Cut elastic band three inches shorter than your waist measurement.
- Pin large safety pin to one end of elastic band.
- Thread elastic smoothly through the inside sewn bias tape channel.
- Stitch elastic ends securely down inside front button placket edges.
14. Romantic Tiered Ruffle Tulle Midi Skirt Extender

Midi skirts that feel too short or plain often languish in closets. Adding tiered gathered tulle along the bottom hem creates vintage ballerina drama. The peek-a-boo sheer layers add enchanting movement and luxurious tactile volume. It lengthens modest hemline silhouettes while reviving outdated pencil or circle skirts.
Adding Dreamy Textural Drama to Simple Skirt Hems
Plain straight skirts can look uninspired and corporate in everyday styling. Layering wispy netting or soft tulle creates whimsical, runway-ready movement. The layered textures peek out gracefully beneath structured wool or cotton skirts. It allows you to rescue skirts that shrank during laundry washes.
Materials Needed for Tulle Skirt Extensions
- Plain cotton, wool, or denim skirt needing extra length
- Two yards of soft nylon dressmaker tulle or fine netting
- Sewing machine or hand-sewing needle with matching polyester thread
- Rotary fabric cutter, cutting mat, and clear acrylic long ruler
- Straight pins with bright glass heads for holding slippery tulle
Step-by-Step Tulle Skirt Extension
- Measure the bottom hem circumference of your targeted base skirt.
- Cut two strips of soft tulle twice as long as hem.
- Make tulle strips six inches wide for subtle flirty drama.
- Sew long running basting stitches along top edge of tulle.
- Pull bobbin thread gently to gather tulle into ruffled strips.
- Adjust gathered ruffles until they match your skirt hem circumference.
- Turn the base skirt completely inside out on your table.
- Pin gathered tulle ruffle edge to inside lower skirt hem.
- Stitch ruffled tulle securely to inside seam using small stitches.
- Turn skirt right side out to reveal flowing sheer hemline.
15. Chic French-Inspired Contrast Neck Scarf from Scraps

Fabric scraps left behind from cutting projects should never end up trashed. Small remnants of silky or patterned fabric quickly become elegant neck scarves. A dainty French-style neckerchief adds instant Parisian sophistication to plain white tees. It is a fantastic zero-waste sewing project that takes under fifteen minutes.
Accenting Everyday Ensembles with Zero-Waste Accessories
Even the tiniest fabric leftovers hold fantastic decorative potential for accessories. Tying a small silky kerchief around your neck elevates casual basics. It introduces pops of playful color and print right near faces. This eco-friendly accessory uses scraps that would otherwise head for landfills.
Materials Needed for Neck Scarves
- Square scrap of lightweight silk, satin, or printed cotton lawn
- Sharp dressmaker fabric shears for clean precision edge cutting
- Fine hand-sewing needle and matching delicate silk sewing thread
- Steam clothing iron with damp pressing cloth for finishing seams
- Disappearing fabric pen and clear acrylic ruler for marking squares
Step-by-Step Neckerchief Crafting Guide
- Measure and cut a clean twenty-inch square from scrap fabric.
- Ensure all four corner angles form perfect ninety-degree square corners.
- Fold raw edges inward by one-eighth inch along all sides.
- Press tiny folded hems flat with a hot steam iron.
- Roll pressed edge tightly inward once more to hide threads.
- Hand-stitch along rolled edges using microscopic, invisible slip stitches.
- Keep stitch tension delicate to avoid puckering lightweight silk edges.
- Press finished rolled hems through damp cloths with warm irons.
- Fold completed square diagonally into a sleek triangular kerchief wrap.
- Knot loosely around neck over cozy knit sweaters or tees.