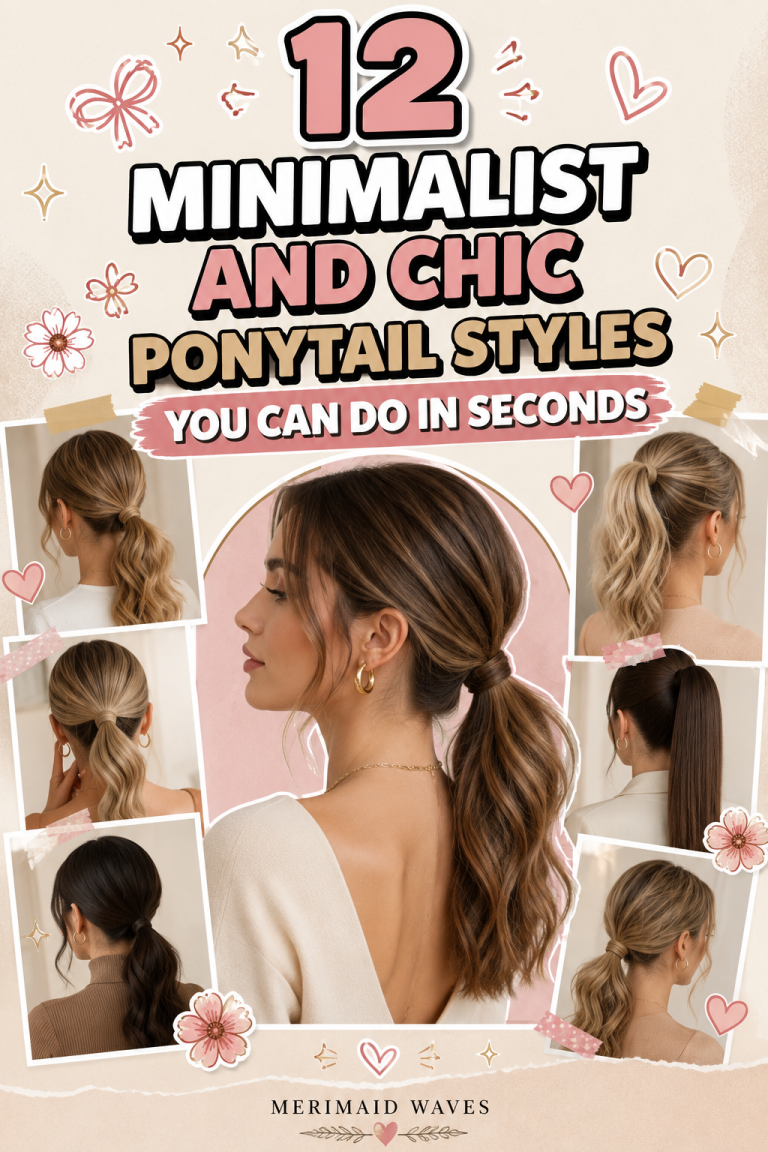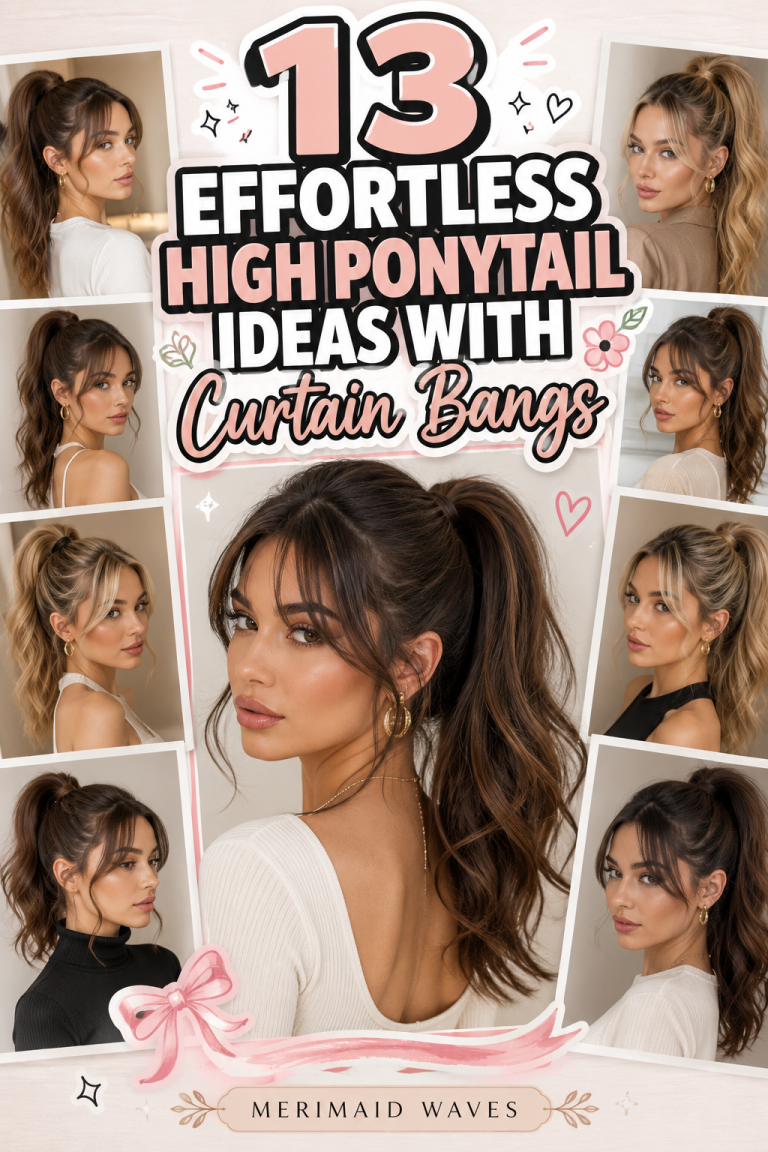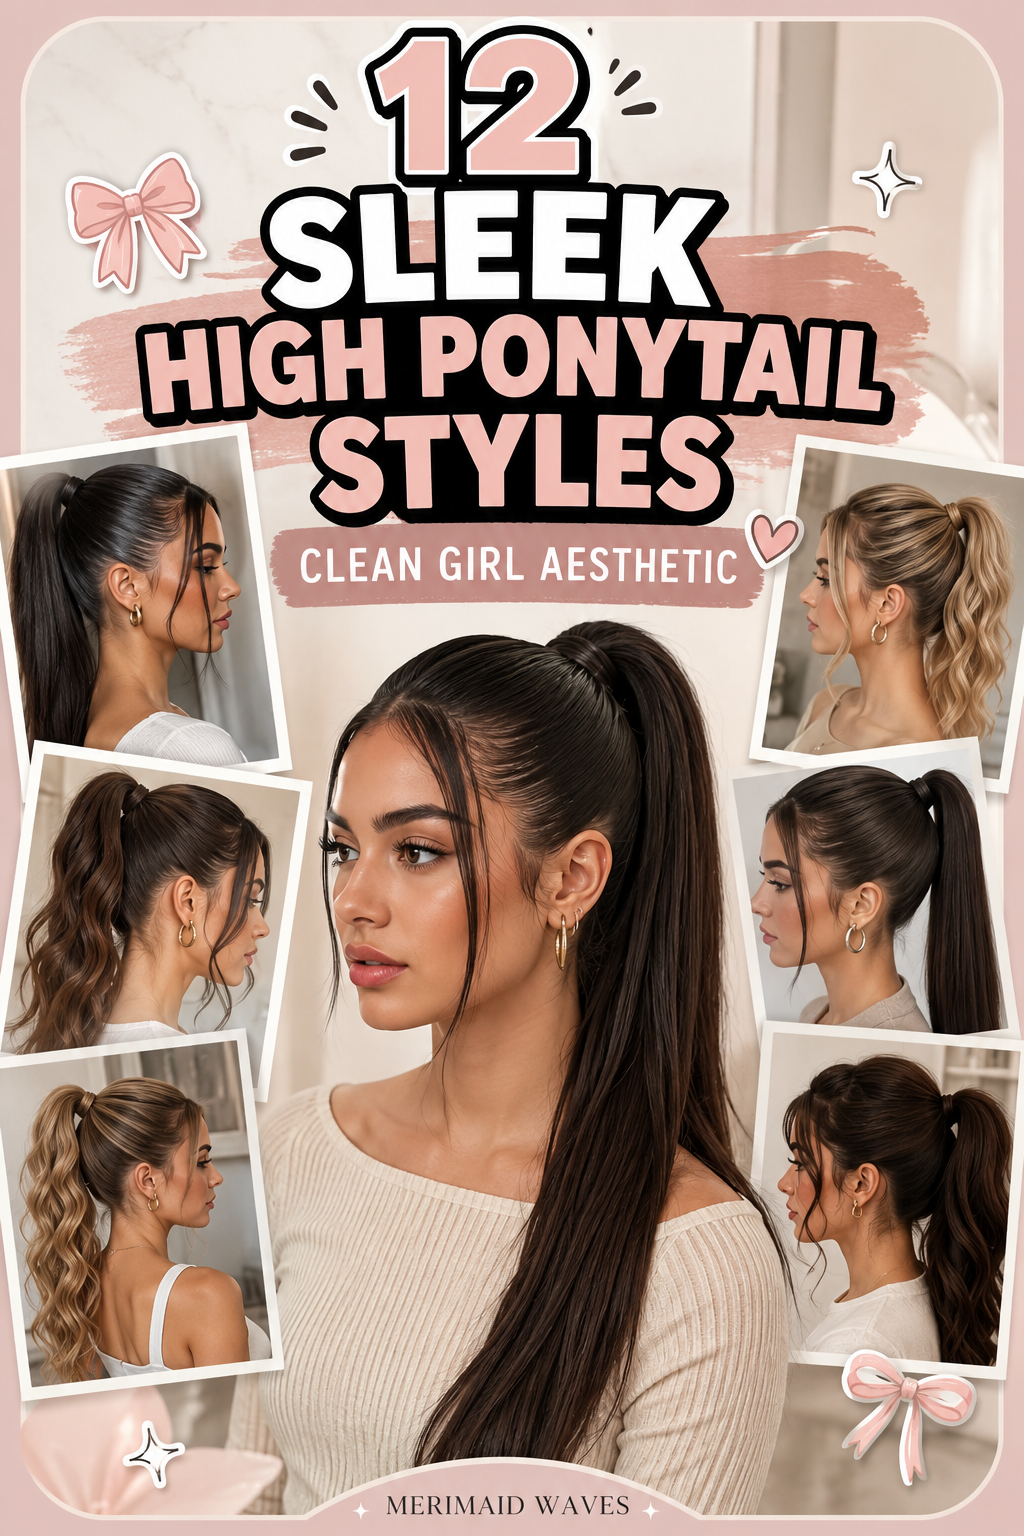
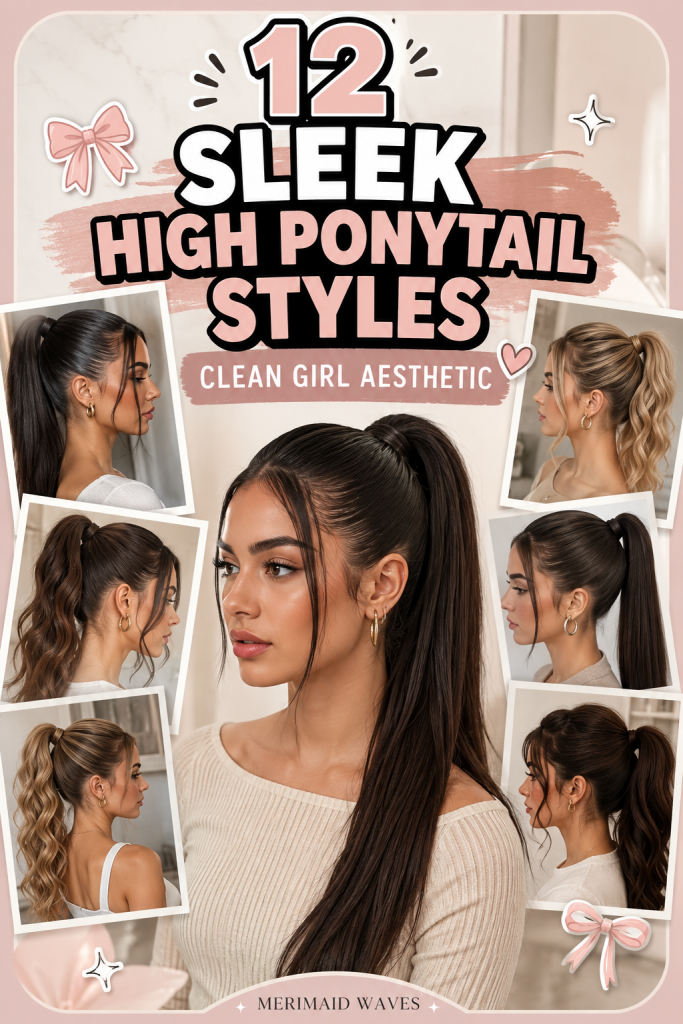
12 Sleek High Ponytail Styles | Clean Girl Aesthetic
The “clean girl aesthetic” has taken the fashion and beauty world by storm, redefining modern glamour through the lens of effortless polish, minimalism, and pristine execution. At the very center of this movement sits the ultimate crown jewel of hairstyles: the sleek high ponytail. Far from a simple lazy-day throw-up, a true clean girl high ponytail is a masterclass in architectural precision. It lifts the facial features, accentuates the cheekbones, elongates the neck, and projects an aura of expensive, put-together confidence.
Achieving this coveted look requires more than just gathering your hair and slapping on a hair tie. It is an art form rooted in scalp health, smoothing mechanics, gel selection, and flawless tension control. Whether you are running errands in athleisure, heading to a high-powered boardroom meeting, or stepping out for an upscale rooftop dinner, a high ponytail adapts to every single vibe.
This comprehensive guide explores twelve deeply detailed, practical, and stunning sleek high ponytail concepts designed to elevate your aesthetic. Let’s dive into the anatomy of the perfect lift and master the art of the sleek ponytail.
The Clean Girl Foundation & Product Arsenal
Before executing any high ponytail style, your structural foundation and product selection determine whether your look stays glass-smooth or succumbs to frizz within an hour.
To achieve that signature mirror-like sheen, you must layer your products strategically. Start with a smoothing cream on damp hair to lock down the cuticle, followed by an alcohol-free firm-hold styling gel at the roots during the brushing phase. Always utilize a bungee elastic hook rather than a standard circular hair tie; a bungee allows you to wrap the base with maximum tension without crushing the hair volume, securing a rock-solid grip that won’t sag.
1. The Glass-Skin Glass-Hair Ultra-Slick High Pony

Achieving Maximum Reflection and Razor-Sharp Precision
The quintessential starting point for the clean girl movement is the ultra-slick high ponytail with a liquid “glass hair” finish. This style features zero bumps, zero flyaways, and a mirror-like shine that catches the light from every angle. Positioned precisely at a 45-degree angle from the jawline upward, this pony creates an instant structural lift to the eyes and cheekbones.
The key to this look is precision brushing while the hair is damp or heavily coated in gel. By working in small sections from the nape and sides upward toward the crown, you compress every single strand into a unified, glass-smooth anchor point.
Mastering the Dual-Brush Smoothing Technique
To eliminate micro-bumps along your crown, a single brush is never enough. You must use a two-step brushing sequence. First, use a dense boar-bristle paddle brush to distribute your styling gel and sweep the hair upward.
Follow this immediately with a fine-toothed bristle edge brush, smoothing the surface layers in microscopic strokes. This catches even the shortest baby hairs, locking them flat into the gel matrix before you secure the base.
Essential Supplies for the Ultra-Slick Pony
- Alcohol-free strong-hold styling gel or pomade
- Boar-bristle smoothing paddle brush
- Fine-toothed dual-ended edge brush
- Elastic bungee cord hook
- High-shine liquid glossing spray
Step-by-Step Implementation Guide
- Mist your clean, dry or damp hair lightly with water to make the strands pliable.
- Apply a generous amount of strong-hold styling gel from your hairline back to the crown.
- Tilt your head slightly backward to keep the scalp skin taut and prevent sagging at the nape.
- Brush your hair upward from the nape, sides, and front toward a high crown point using the boar-bristle brush.
- Switch to the edge brush to smooth out any micro-bumps along your temples and parting lines.
- Secure the gathered hair tightly using a bungee hook, wrapping it around the base 3 to 4 times and locking the clasps.
- Take a quarter-inch section of hair from the underside of the pony and wrap it tightly around the elastic to conceal it.
- Mist the entire head with high-shine glossing spray and press down any stray hairs with your fingertips.
2. The Sculpted Baby-Hair Swoop High Pony

Framing the Face with Intricate, Editorial Swirls
Taking the clean girl aesthetic into an editorial space, the sculpted baby-hair swoop high ponytail pairs an ultra-sleek crown with meticulously designed, artful baby hairs along the forehead and sideburns. This style pays homage to urban glamour while maintaining the crisp, minimalist polish of the clean girl movement.
Rather than letting stray hairs fuzz up your hairline, you celebrate your natural hair texture by curling and molding tiny perimeter hairs into precise, sweeping arcs that frame your face like fine calligraphy.
Shaping and Setting Delicate Swirls
To create baby hairs that hold their sculpted shape all day without flaking, you need a specialized edge styler and a fast-drying edge control wax. Use the tail end of a rat-tail comb to tease out a delicate, wispy veil of hair from your hairline.
Apply a tiny dot of edge wax to your fingertips, press the hair against your skin in a C-curve or S-curve motion, and clean up the surrounding skin with a cotton swab dipped in micellar water for sharp contrast.
Materials Required for Baby-Hair Sculpting
- Firm-hold edge control wax (clear, non-flaking formula)
- Metal rat-tail parting comb
- Double-ended edge brush with comb
- Micellar water and cotton swabs for clean edges
- Silk wrapping strip for setting
Step-by-Step Implementation Guide
- Gather your hair into a high, sleek ponytail following the standard ultra-slick method, securing with a bungee cord.
- Use the metal tail of your parting comb to gently pick out a very fine, wispy layer of hair along your hairline and sideburns.
- Apply a pea-sized amount of edge wax to the roots of these baby hairs.
- Using the brush end of your edge tool, swoop the hair near your left temple downward and inward toward your eye in a C-curve.
- Sculpt a second delicate wave along your right temple, mirroring the left or creating an asymmetric S-curve.
- Clean up any excess gel or wax smudged on your forehead using a cotton swab moistened with micellar water.
- Tie a silk wrapping strip gently over your hairline for five minutes to press the baby hairs flat into final position.
- Remove the strip and spritz a light holding mist over the edges to lock them in place.
3. The Soft-Volume Crown Pompadour High Pony

Adding Retro Height and Balanced Proportions for Round Faces
If you have a round face shape or a lower hairline, a completely flat, slicked-back ponytail can sometimes make your face look disproportionately short. The soft-volume crown pompadour high ponytail solves this by introducing subtle, elevated volume at the crown while keeping the sides and nape glass-smooth.
This style channels understated 1960s retro elegance filtered through a modern minimalist lens. It elongates the face, creates stunning profile silhouettes, and adds beautiful dimension to an otherwise flat silhouette.
Constructing Balanced Crown Lift Without Trixie Crêpage
Achieving modern crown volume without resorting to messy, damaging teasing requires strategic root-lifting techniques. Instead of aggressively backcombing your hair into a knot of tangles, apply a lightweight volumizing foam to damp roots at the crown.
Blow-dry the crown section upward using a small round brush, then pin it into a loose thermal curl while it cools. This builds natural internal memory and height before you smooth the sides back.
Pompadour Styling Tools Checklist
- Volumizing root-lift mousse
- Small ceramic round thermal brush
- Professional hair dryer with nozzle concentrator
- Sectioning clips
- Flexible working hairspray
Step-by-Step Implementation Guide
- Apply volumizing root-lift mousse to the top crown section of your damp hair.
- Blow-dry the crown hair upward and backward using a round brush to set high volume.
- Pin the warm crown section into a loose roll with a sectioning clip while it cools for 10 minutes.
- Apply slicking gel to the sides and nape of your head, keeping the top crown section untouched for now.
- Brush the sides and nape upward toward the crown, gathering the hair into a high ponytail base.
- Release the crown section and gently finger-comb it back, allowing the natural lift to float over the hair tie.
- Secure the entire ponytail using a sturdy bungee cord, ensuring the front pompadour retains its airy arch.
- Mist a light, flexible working hairspray over the crown to maintain the lift without hardening the texture.
4. The Liquid-Silk Wrapped-Base High Pony

Hiding Elastics with Seamless Hair Weave Integration
The absolute hallmark of an amateur ponytail is a visible, cheap black elastic band glaring at the base of the style. The clean girl aesthetic demands seamless perfection, which is why the liquid-silk wrapped-base high ponytail is a non-negotiable technique.
By taking a thick, glossy strand of hair from the underside of your ponytail and wrapping it continuously around the elastic base, you create an expensive, professionally finished look that appears as though the hair magically defies gravity.
Securing the Wrapped Strand Without Bobby Pins
The biggest annoyance when wrapping a ponytail base is when the final end pops loose throughout the day. To anchor the wrapped strand permanently without relying on dozens of loose bobby pins that poke your scalp, use a hidden anchor trick.
Before you finish wrapping, slide a small open bobby pin vertically downward through the elastic band with the open end facing up. Tuck your final hair tip through the loop of the pin, then pull the pin downward through the elastic. This cinches the hair tip securely inside the band.
Wrapped-Base Supplies List
- Bungee cord hair fastener
- Fine-tooth tail comb
- Open hair bobby pins
- Strong-hold hair glue or styling wax for the tip
- Anti-humidity finishing mist
Step-by-Step Implementation Guide
- Gather your hair into a sleek, high ponytail and secure it tightly with a bungee cord.
- Pull a half-inch section of hair from the hidden underside of the ponytail (near the nape attachment).
- Spray this wrap section lightly with a firm-hold spray and smooth it with a tail comb.
- Wrap the strand tautly and continuously around the elastic base, stacking each rotation neatly on top of the last.
- Stop when you have one inch of hair remaining at the tip of the wrap strand.
- Slide an open bobby pin vertically up through the elastic band, catch the hair tip in the pin’s V-shape, and pull downward.
- The hair tip will tuck invisibly into the core of the elastic base.
- Smooth any surface frizz on the wrapped base with a touch of styling wax on your fingertips.
5. The Polished Middle-Part Face-Framing High Pony

Softening High-Impact Sleekness with Symmetrical Tendrils
For individuals who love the lifted elevation of a high ponytail but feel exposed when all their hair is pulled completely back from their face, the polished middle-part face-framing high ponytail offers the ideal compromise.
This style features a razor-sharp center part running back a few inches before sweeping cleanly up into a high crown pony, while two sleek, glossy face-framing tendrils are left out to graze the cheekbones. It offers a softer, ultra-feminine clean girl presentation.
Precision Parting and Tendril Weight Control
Getting the middle part razor-sharp requires a metal pin-tail comb and a mirror to check the back alignment. Your parting should extend only about two to three inches back from your forehead before transitioning into the slicked-back crown.
When cutting or selecting your face-framing tendrils, ensure they are kept thin and lightweight. Heavy, thick chunks of hair hanging down destroy the clean girl minimalist aesthetic; they should look delicate, silky, and deliberate.
Middle-Part Pony Accessories Checklist
- Metal pin-tail parting comb
- Smoothing ceramic mini flat iron (for polishing tendrils)
- Lightweight argan or jojoba hair oil
- Firm-hold styling gel
- Alligator sectioning clips
Step-by-Step Implementation Guide
- Create a razor-sharp center part extending three inches back from the center of your forehead using a pin-tail comb.
- Section out a thin, quarter-inch tendril of hair on each side of the part right in front of your ears.
- Clip the two face-framing tendrils safely out of the way with sectioning clips.
- Apply styling gel to the rest of your hair and brush the remaining sections upward and back toward the high crown.
- Secure the main ponytail base tightly with a bungee cord.
- Release your face-framing tendrils and mist them with a heat protectant spray.
- Pass a mini ceramic flat iron smoothly down each tendril, curving the very tips inward slightly toward your jawline.
- Rub a single drop of argan oil between your palms and glide it over the tendrils for high-gloss perfection.
6. The Braid-Wrapped Crown Clean Girl High Pony
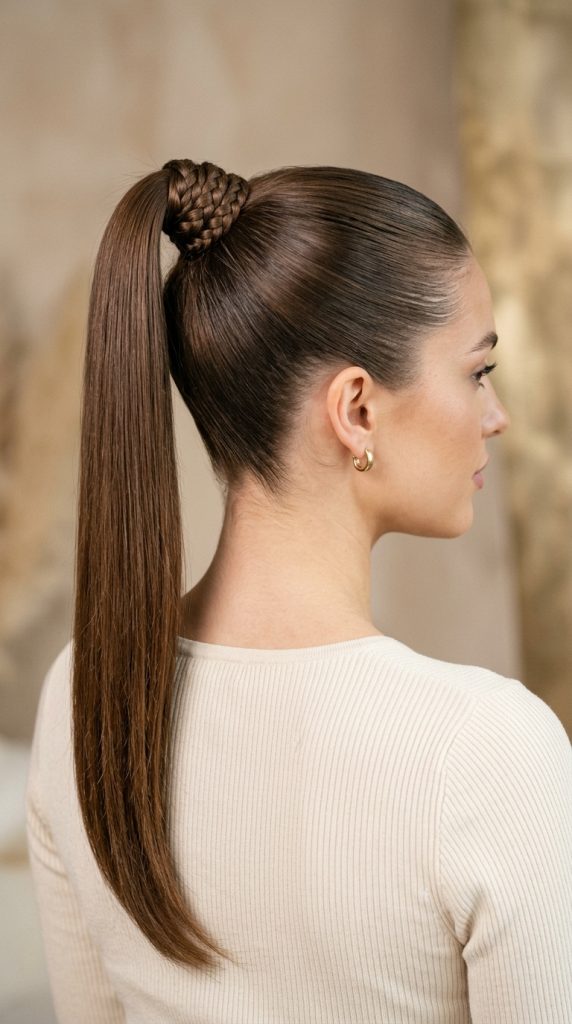
Marrying Braided Texture with Liquid-Smooth Roots
Texture play is becoming a massive trend within clean girl minimalism. The braid-wrapped crown high ponytail combines ultra-sleek, glass-smooth roots with a dramatic, intricate accent braid that wraps around the base of the ponytail or runs down the length of the tail.
This look adds unexpected tactile dimension to an otherwise smooth hairstyle, making it look like you spent hours in a luxury salon chair when it can actually be achieved in under ten minutes.
Executing Clean Micro-Braids on Slicked Hair
When braiding a section of hair that has been coated in styling gel, the hair can sometimes feel slippery or stiff. To combat this, apply a small amount of dry styling powder or texturizing paste to the braid section before you begin weaving.
This gives your fingers instant grip, allowing you to create a tight, uniform three-strand braid or fish-tail braid that sits flat against the scalp without unraveling.
Braid-Wrapped Accessories List
- Texturizing styling powder
- Clear silicone mini elastics
- Boar-bristle smoothing brush
- Strong-hold styling gel
- Shine-enhancing finishing spray
Step-by-Step Implementation Guide
- Slick your hair back into a high ponytail and secure with a bungee cord following standard protocol.
- Separate a one-inch section of hair from the top layer of your ponytail to use for your accent braid.
- Dust a tiny pinch of texturizing powder onto this braid section to give your fingers grip.
- Weave the section into a tight, neat three-strand braid all the way down to the ends, securing with a clear silicone elastic.
- Wrap the finished braid tautly around the elastic base of your ponytail two or three times.
- Tuck the remaining braid tail underneath the ponytail base and secure it invisibly with a bobby pin.
- Smooth any flyaways along your crown using your boar-bristle brush and gel.
- Mist the entire style with a shine-enhancing finishing spray for a polished, cohesive glow.
7. The Sculpted Bubble High Ponytail

Playful Architectural Segments for Modern Streetwear
If standard ponytails feel a bit too corporate or repetitive, the sculpted bubble high ponytail injects playful, avant-garde architecture into the clean girl aesthetic. Popularized by runway models and fashion influencers, this style features a high, sleek ponytail segmented into distinct, rounded “bubbles” using matching elastics.
Each bubble is gently pulled out and rounded to create a uniform, geometric column of hair that looks remarkably sculptural against casual streetwear or high-fashion tailoring.
Managing Bubble Proportions and Tension
The secret to a flawless bubble ponytail is maintaining equal distance and volume between every single segment. If your bubbles are uneven—one large, one tiny—the style loses its high-end architectural appeal.
Space your clear elastics roughly two to three inches apart down the length of your ponytail. After placing each elastic, gently pancake (pull outward) the edges of the hair section between the bands to puff it into a uniform, rounded sphere.
Bubble Pony Supplies Checklist
- Pack of clear or hair-colored snag-free mini elastics
- Rat-tail comb for sectioning and teasing
- Strong-hold styling gel for the slicked base
- Volumizing texture spray for the tail
- Smoothing finishing brush
Step-by-Step Implementation Guide
- Gather your hair into a high, ultra-slick ponytail and secure the base with a bungee cord.
- Spray the length of your ponytail tail with texturizing spray to add grip and thickness.
- Place your first clear mini elastic two inches down from the base elastic.
- Gently pull outward on the hair trapped between the two elastics to expand it into a rounded bubble shape.
- Repeat this process down the length of the ponytail, placing elastics every two inches.
- Ensure all spaces between elastics are fluffed equally to maintain a balanced, geometric column silhouette.
- Smooth down any stray hairs escaping the bubbles using a fine finishing brush.
- Apply a light mist of hold spray over the entire bubble tail to lock the shapes in place.
8. The Brushed-Out Hollywood Wave High Pony

Old Hollywood Glamour Meets Modern High-Altitude Sleekness
For black-tie galas, weddings, and upscale evening events, the brushed-out Hollywood wave high ponytail is the ultimate showstopper. This style marries the strict, clean minimalism of a slicked-back crown with a cascade of ultra-glossy, cascading vintage waves in the tail.
It provides the drama of long, flowing red-carpet hair while keeping your neck and face impeccably lifted and framed.
Setting S-Waves for a Polished Tail
To achieve mirror-like Hollywood waves in your ponytail tail, you cannot rely on casual curling wands. You must set your hair using large-barrel thermal curling tongs (1.5-inch to 2-inch barrels) all traveling in the exact same uniform direction.
After curling, allow the hair to cool completely, then brush it out gently with a wide-boar bristle brush to merge the curls into a single, cohesive, fluid wave waterfall.
Hollywood Wave Accessories & Tools
- 1.5-inch ceramic curling iron or hot rollers
- Thermal heat protectant spray
- Wide boar-bristle paddle brush
- Medium-hold aerosol hairspray
- Silicone-based anti-frizz gloss drops
Step-by-Step Implementation Guide
- Prep your hair and secure it into a tight, glass-smooth high ponytail using a bungee cord.
- Mist the tail sections generously with thermal heat protectant spray.
- Take two-inch vertical sections of the tail and curl them all in the same rotational direction using your 1.5-inch curling iron.
- Pin each warm curl loosely to the base of the tail with a clip and let them cool for 15 minutes.
- Remove all setting clips and let the curls cascade down.
- Run a wide boar-bristle paddle brush firmly through the curls from top to bottom to merge them into seamless S-waves.
- Rub 2 drops of silicone gloss serum between your palms and smooth them over the wave surface to eliminate frizz.
- Mist medium-hold aerosol spray over the waves to lock the vintage silhouette in place.
9. The Athletic Gym-Sleek High Pony with Spandex Wrap
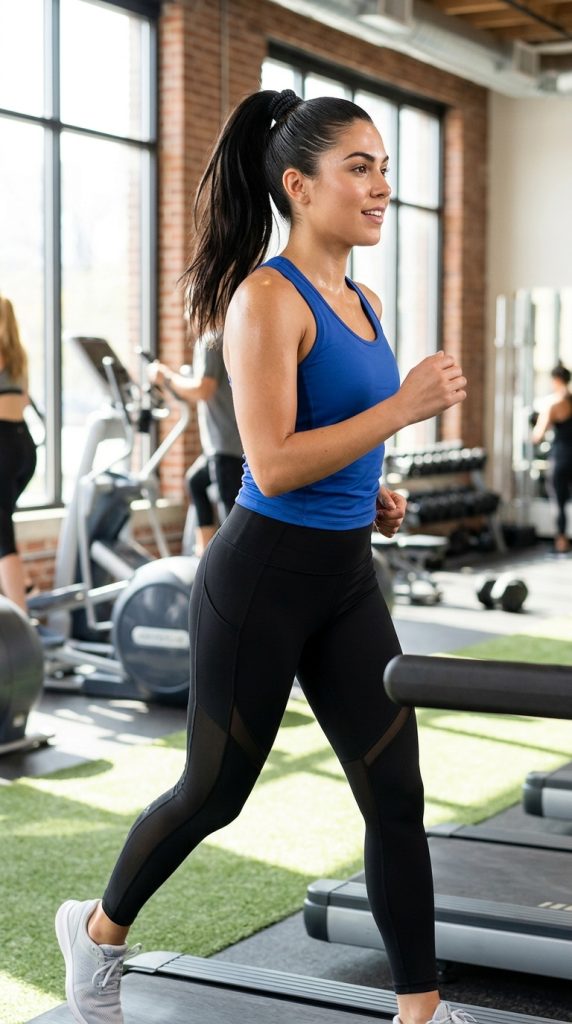
Sweat-Proof Performance Styling for Active Lifestyles
The clean girl aesthetic was built in the wellness studio, making the athletic gym-sleek high ponytail an essential daily driver. Designed to survive high-intensity interval training, hot pilates, and heavy weightlifting without slipping, frizzing, or sagging, this style prioritizes ironclad grip and sweat resistance.
By utilizing breathable moisture-wicking headbands and sweat-resistant styling pomades, your hair stays locked in place through your toughest workouts while looking effortlessly chic.
Sweat-Resistant Styling Mechanics
Standard water-based hair gels can break down and turn sticky when mixed with heavy sweat during a workout. To prevent this, swap standard gel for a sweat-resistant styling pomade or edge control formulated with beeswax or synthetic resins.
Furthermore, double-securing your ponytail base with two bungee cords stacked tightly on top of each other prevents the weight of bouncing hair from loosening your tension during cardio sessions.
Gym-Sleek Supplies Checklist
- Beeswax-based sweat-resistant styling pomade
- Two heavy-duty bungee cord fasteners
- Athletic microfiber headband (optional for sweat absorption)
- Dry shampoo powder (for post-workout refresh)
- No-slip athletic hair ties
Step-by-Step Implementation Guide
- Apply a sweat-resistant beeswax pomade along your hairline and crown to lock down moisture and flyaways.
- Brush your hair upward into a high crown position using a firm athletic brush.
- Secure the base with your first bungee cord tightly.
- Wrap a second bungee cord directly over the first one to create a double-locked anchor that withstands heavy bouncing.
- Gather the tail into a sleek, single braid or leave it as a high swing tail depending on your workout preference.
- Post-workout: If sweat dampens your roots, dust a small amount of dry shampoo powder along the crown.
- Use a blow dryer on the cool setting to evaporate sweat moisture without disturbing your sleek styling.
- Smooth any minor post-workout frizz with a dab of pomade on your fingertips.
10. The Deep-Side-Part Old-Money Luxury High Pony
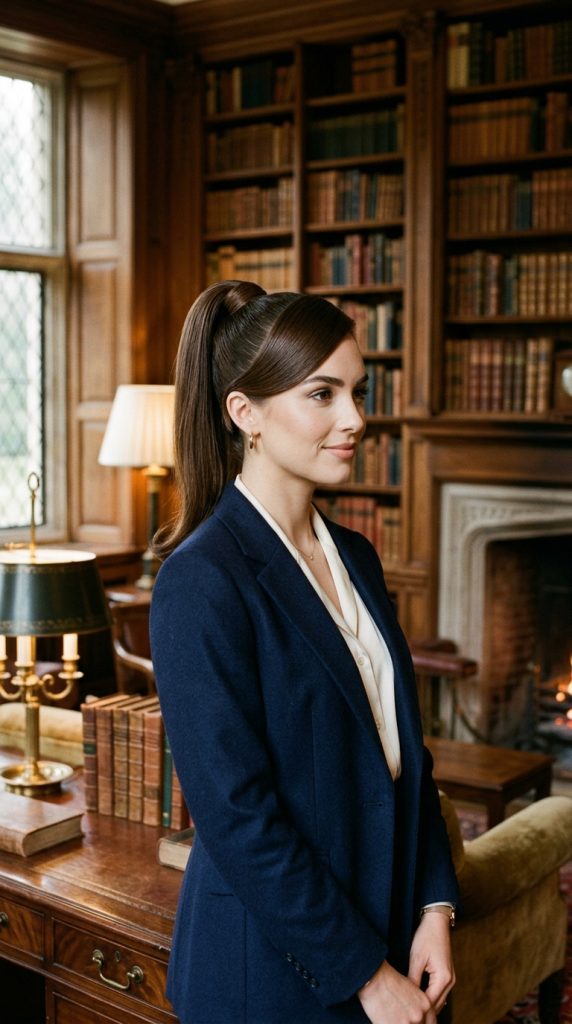
Asymmetrical Drama and Timeless Continental Elegance
Stepping away from traditional centered crowns, the deep-side-part old-money luxury high ponytail introduces striking asymmetrical drama. Inspired by classic European fashion houses and elite equestrian aesthetics, this style features a dramatic, sweeping deep side part that arches gracefully across the forehead before pulling back into a sleek, high-set tail.
It radiates wealth, quiet luxury, and high-fashion curation, softening angular jawlines while creating an unmistakable high-society silhouette.
Engineering the Deep Side Sweep
Finding your ideal side part is vital: line your part up directly with the arch of your eyebrow for the most flattering facial contour.
When smoothing the heavy side of the part across your forehead, use a styling comb to create a clean, sweeping arc rather than a harsh, flat angle. This preserves a soft, luxurious volume over the temple before the hair dives into the ponytail base.
Old-Money Luxury Materials
- Precision metal tail comb
- Nourishing styling wax stick
- Boar-bristle polishing brush
- Luxury satin hair scrunchie or wrapped base
- Flexible hold finishing mist
Step-by-Step Implementation Guide
- Create a deep side part aligned with your right eyebrow arch using a metal tail comb.
- Sweep the heavier section of hair smoothly across your forehead in a soft, elegant curve.
- Glide a styling wax stick lightly over the parted sections to tame flyaways instantly without heaviness.
- Brush all remaining hair—including the swept side—upward toward a high crown position slightly off-center.
- Secure the asymmetrical ponytail tightly with a bungee cord fastener.
- Take a thick section of hair from the tail and wrap it cleanly around the base to conceal the elastic.
- Mist flexible hold finishing mist across the sweeping forehead section to maintain its sculptural curve.
- Polish the lengths of the ponytail with a brush to ensure a glossy, high-end finish.
11. The Textured Boho-Wave High Pony

Effortless Beach-Luxe Contrast for Casual Weekends
If ultra-sleek, glass-hair styles feel a bit too severe for your daily wardrobe, the textured boho-wave high ponytail offers a softer, more relaxed interpretation of the clean girl trend. This style maintains the clean, lifted, snatched crown of a sleek high pony, but contrasts it with voluminous, undone, beachy waves throughout the tail.
It is the ultimate “model-off-duty” weekend look—polished and deliberate at the scalp, yet free-spirited and voluminous through the lengths.
Building Beach Texture Without Crunchiness
To achieve effortless boho waves in your ponytail, avoid heavy hairsprays that make the hair stiff and crunchy. Instead, utilize a texturizing sea salt spray or sugar mist on damp or dry hair before scrunching with a diffuser or curling with a wand.
Leave the ends slightly straight and piecey for that authentic, lived-in California beach aesthetic.
Boho-Wave Supplies List
- Sea salt texturizing spray or dry texture paste
- 1-inch conical curling wand
- Wide-tooth detangling comb
- Lightweight matte styling powder
- Clear elastic or bungee cord
Step-by-Step Implementation Guide
- Slick your roots and crown back into a clean, high ponytail using styling gel for a sharp contrast against the textured tail.
- Spray the length of your ponytail tail liberally with texturizing sea salt spray.
- Take random one-inch sections of the tail and wrap them loosely around a 1-inch conical curling wand, leaving the last inch straight.
- Alternate the direction of your curls (clockwise and counter-clockwise) for an organic, natural wave pattern.
- Dust a pinch of matte styling powder into the roots of the tail and scrunch upward with your hands for instant grit and volume.
- Gently rake a wide-tooth comb through the waves to break them up into a soft, undone cloud.
- Pinch a touch of pomade onto the very ends of the tail to define piecey separation.
- Check your profile to ensure the clean crown contrasts sharply against the textured tail volume.
12. The Futuristic Cyber-Sleek Metal-Cuff High Pony

Architectural Metal Hardware Meets Minimalist Hair Design
Pushing the clean girl aesthetic into the realm of futuristic cyberpunk and high-fashion red-carpet innovation, the cyber-sleek metal-cuff high ponytail replaces traditional hair-wrapped bases with statement metallic hardware.
Featuring an ultra-tight, glass-smooth high crown base secured by a cylindrical gold or silver metal hair cuff, this style treats your ponytail as a piece of modern jewelry. It is bold, minimal, futuristic, and fiercely confident.
Securing Heavy Metal Hair Cuffs Without Slipping
Metal hair cuffs can be heavy and tend to slide down fine or slippery hair throughout the day. To anchor a heavy metal cuff securely, you must build a hidden friction base underneath.
Secure your ponytail tightly with a standard bungee cord first. Next, wrap a small, tacky textured hair net or a matching hair-colored elastic tightly around the base right beneath the bungee. The metal cuff will clamp securely onto this textured foundation, preventing it from sliding down your tail.
Cyber-Sleek Hardware Checklist
- Cylindrical metallic hair cuff (gold, silver, or gunmetal)
- Heavy-duty bungee cord fastener
- Strong-hold clear styling gel
- Finishing shine lacquer
- Fine-tooth smoothing comb
Step-by-Step Implementation Guide
- Apply clear styling gel and brush your hair upward into an immaculate, ultra-high crown ponytail.
- Secure the hair tightly with a heavy-duty bungee cord, ensuring zero slack at the nape.
- Slide your cylindrical metal hair cuff directly over the ponytail tail and press it flush against the base elastic.
- If the cuff has a screw closure or clasp, fasten it securely around the hidden friction base.
- Smooth any minor stray hairs along your crown with a fine-tooth smoothing comb dipped in gel.
- Mist a high-shine finishing lacquer over the slicked head to achieve a pristine, futuristic mirror sheen.
- Straighten the hanging tail of the ponytail with a flat iron for a razor-sharp, sleek finish.
- Step back and admire your architectural, high-fashion metallic statement ponytail.