14 Aesthetic Halloween Almond Nails for 2026 That Look Effortlessly Chic
Halloween nail art has undergone a significant, stylish evolution. Gone are the days when October demanded bulky 3D acrylic pumpkins, messy neon splatters, or cartoonish ghost faces plastered onto every single fingernail. As we approach 2026, the reigning aesthetic for seasonal manicures is “effortlessly chic.” Modern trendsetters and fashion enthusiasts are seeking sophisticated, wearable, and subtly spooky designs that elevate their entire autumn wardrobe rather than clashing with it.
The almond nail shape—with its elegant, tapered sides and rounded tip—serves as the perfect canvas for this elevated approach to Halloween. This universally flattering shape provides enough length for artistic expression while maintaining a refined, elongated appearance. By combining the almond silhouette with minimalist negative space, high-end textural finishes, and muted, moody color palettes, you achieve a manicure that is appropriate for the boardroom, the pumpkin patch, and the late-night costume party simultaneously. These fourteen aesthetic Halloween almond nail ideas prove that spooky can be synonymous with stylish.
Why Muted Palettes and Negative Space Define 2026 Nail Trends
Achieving a high-fashion, effortless look requires restraint. Traditional holiday manicures often fail because they rely on harsh, glossy primary colors (think neon orange and stark white) that can look costume-y in everyday settings. In stark contrast, the 2026 aesthetic embraces sophisticated, muted storytelling. Think dusty terracotta, smoky charcoal, rich oxblood, antique brass, and pale, spectral alabaster. These tones harmonize beautifully with autumnal fashion staples like oversized knit sweaters, leather jackets, and tailored wool coats.
Furthermore, utilizing negative space—leaving portions of the natural nail bed exposed—is the ultimate secret weapon for chic nail art. Negative space keeps the design feeling airy, modern, and clean, preventing the manicure from looking heavy or dated. It also allows for extended wear, as grow-out lines are less obvious against bare or sheer-tinted nails. Consequently, your handmade nail art looks expensive, intentional, and seamlessly integrated into your personal style rather than just being a temporary holiday novelty.
Essential Techniques and Finishes for the Perfect Almond Shape
Executing these complex yet minimalist designs requires mastering specific finishes and techniques. The almond shape looks particularly stunning when finished with a luxurious matte top coat, which mutes the intensity of darker colors and gives the nails a velvety, sophisticated texture—perfect for mimicking suede or chalkboard aesthetics. Alternatively, a high-shine, quick-dry top coat can make simple graphic lines pop with editorial precision.
Stocking your polish collection with precise tools is equally critical. A high-quality, opaque black polish with a long, thin striping brush is non-negotiable for executing flawless micro-lines, spiderwebs, and celestial detailing. Keep specialty items like metallic gold foil transfer sheets, tiny star-shaped sequins, and dotting tools in various sizes within easy reach. With these supplies and techniques at your disposal, achieving a salon-quality, effortlessly chic Halloween manicure becomes a wonderfully relaxing and inspiring creative outlet. Let us explore fourteen aesthetic Halloween almond nail ideas tailored for 2026.
1. The Minimalist Negative Space Blood-Drip Tips
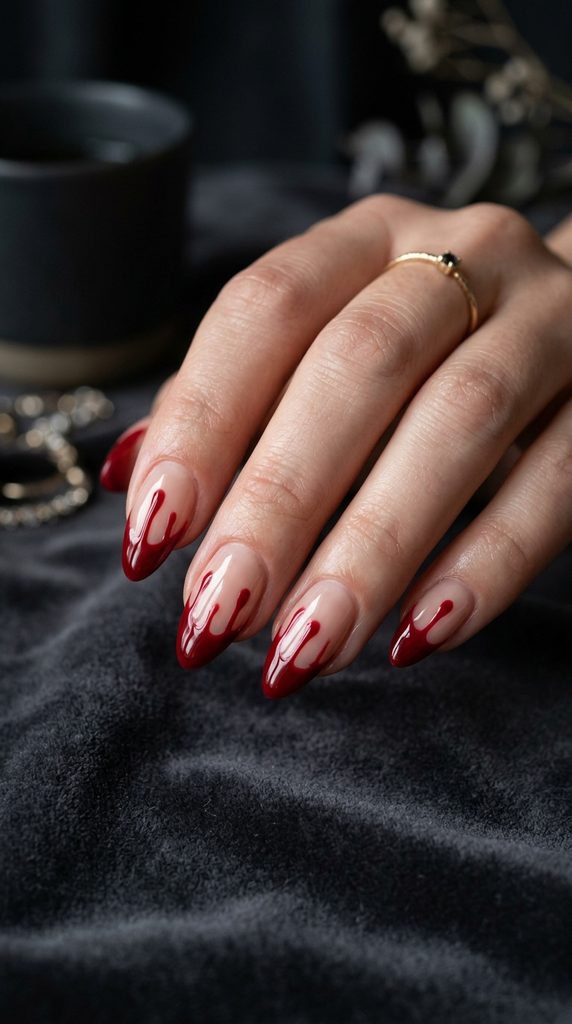
A Modern, Subtle Subversion of the Classic French Manicure
The French manicure is a timeless classic, but adding a spooky twist for October takes seconds. Instead of a pristine white arc, this design features an abrupt, glossy crimson red drip cascading down from your almond tips against a sheer nude base. It looks sharp, modern, and delightfully eerie without requiring any complex drawing skills.
Furthermore, because the base is sheer, this look is exceptionally forgiving as your natural nails grow out, extending the life of the manicure.
How to Recreate the Blood-Drip Nails Step-by-Step
First, apply a sheer pink or beige base coat across all almond nails and let it cure completely under your UV lamp. Next, take a bottle of deep oxblood red gel polish with a thin, long liner brush. Paint a horizontal line across your free edge to establish the main drip line, then use the brush tip to pull three small, rounded downward droplets of varying lengths from this line.
Fill in the upper tip section solid red. Use the brush tip to refine the rounded edges of the drips. Cure thoroughly. Finally, seal your masterpiece with a high-shine top coat to create the realistic illusion of wet, glistening blood droplets.
Required Polishes and Tools
- Sheer nude or milky pink gel base coat
- Deep oxblood red or crimson red gel polish
- Ultra-fine nail art liner brush
- High-shine gel top coat
- UV/LED nail lamp
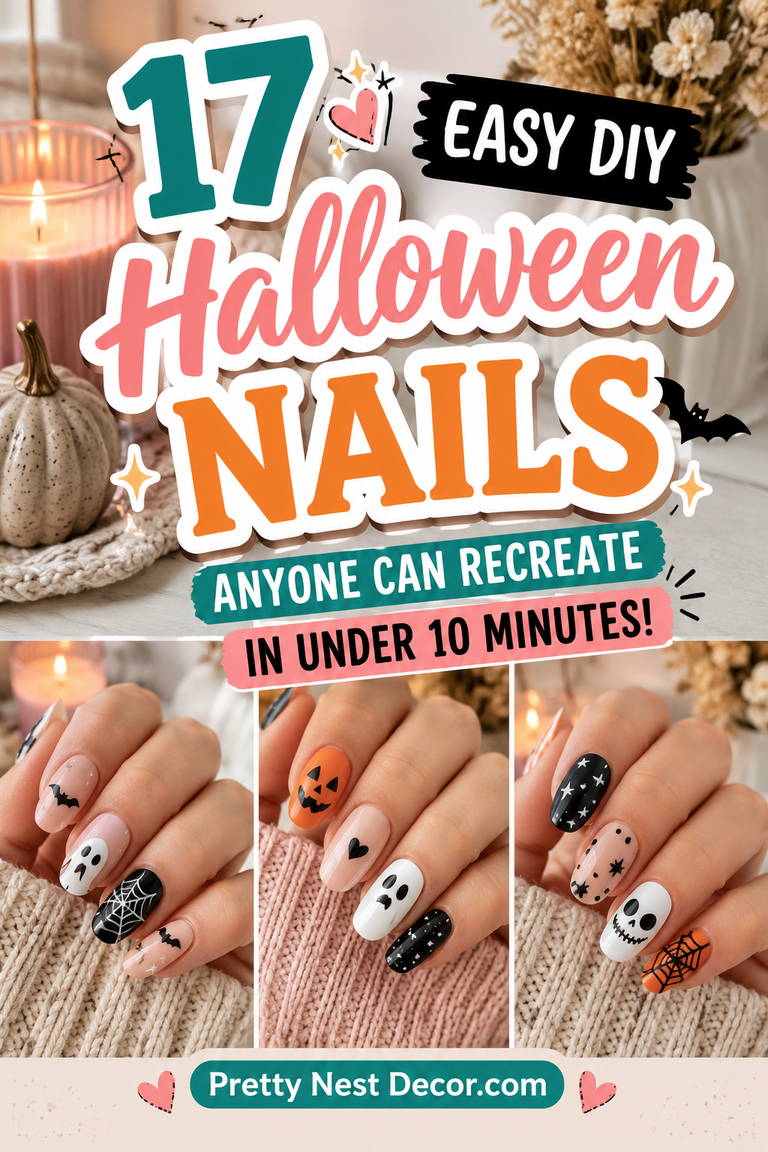
2. The 3-Dot Spooky Ghost Accent Nail on Matte Nude

Adorable Phantoms Modernized with Clean Graphic Placement
Intricate ghost nail art often intimidates beginners who worry about drawing facial expressions. However, the 3-Dot Spooky Ghost design bypasses complex illustration entirely. By using a standard metal dotting tool or toothpick dipped in black gel, you create cute, minimalist, almost emoji-like phantom faces effortlessly.
Moreover, placing these ghosts on only one accent nail per hand keeps the overall manicure looking clean, mature, and sophisticated rather than cluttered.
How to Recreate the 3-Dot Spooky Ghosts Step-by-Step
Begin by painting all almond nails in an opaque, milky beige or muted taupe polish. Apply a velvety matte top coat over all nails and cure completely. Next, dip the large end of a dotting tool into pure white creme gel polish and stamp an organic, rounded blob near your cuticle base—this is the ghost body.
Clean the dotting tool and dip the fine tip into black gel polish. Stamp two tiny dots for eyes and one small oval for a gasping mouth onto the white phantom body. Cure your design. Finally, add scattered tiny white star dots around the main ghost. Finish with a matte top coat applied over the art only.
Required Polishes and Tools
- Opaque milky beige or muted taupe gel base polish
- Pure white creme gel polish
- Jet-black gel polish
- Metal nail art dotting tool set
- Velvety matte gel top coat
- UV/LED nail lamp
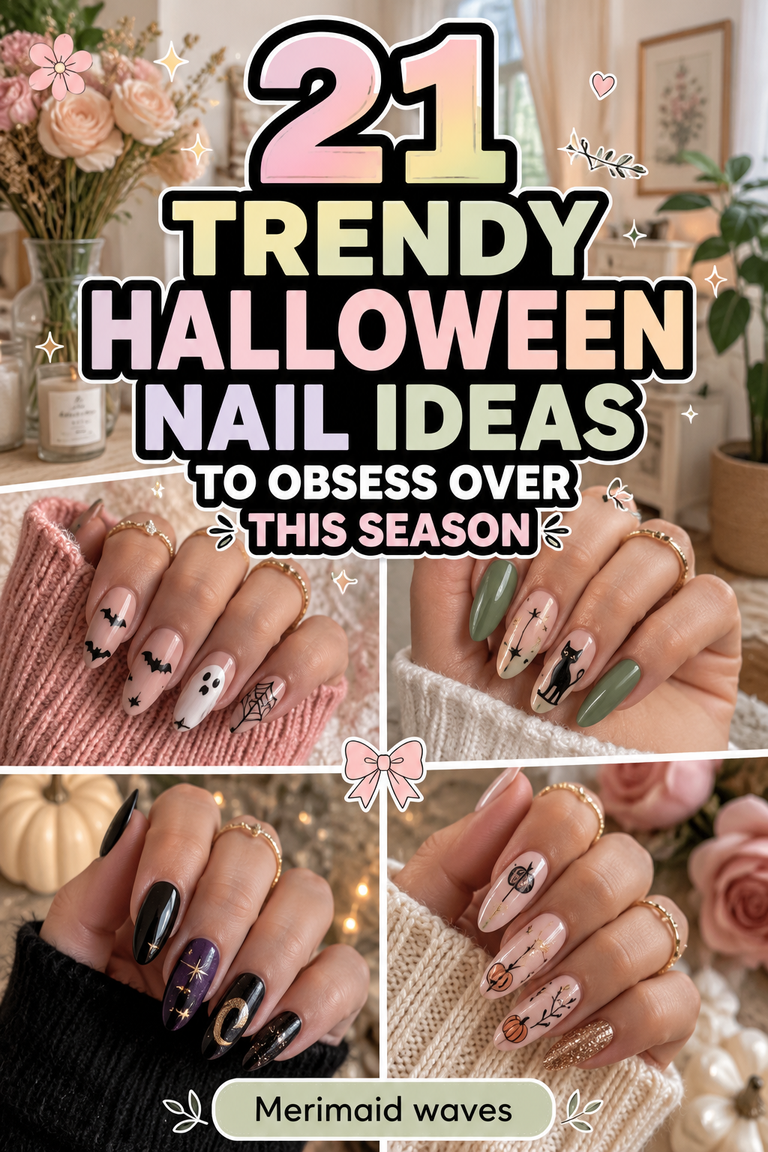
3. The Abstract Metallic Gold Celestial Constellation
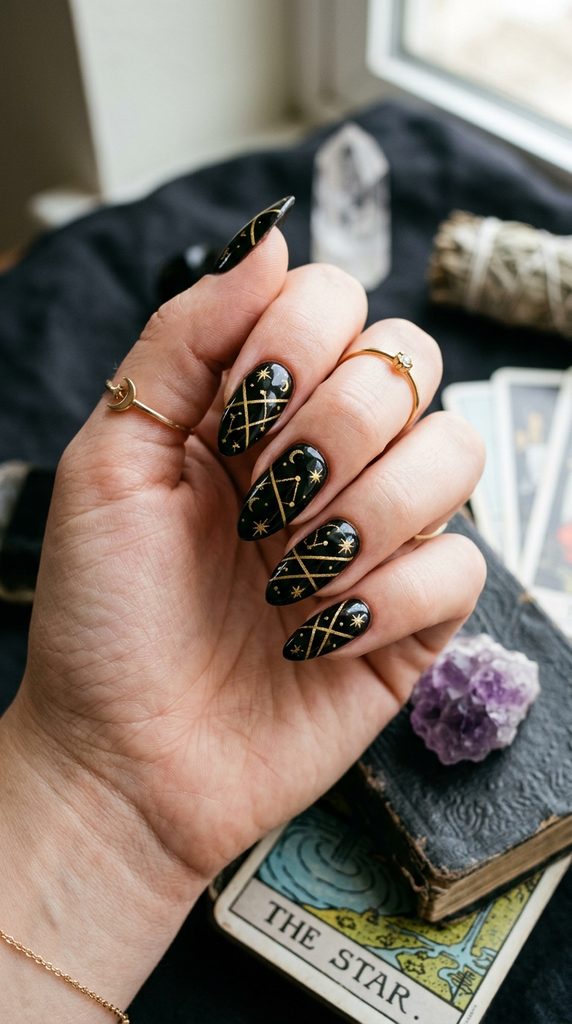
Ethereal Star-Gazer Artistry on Deep Obsidian Bases
Celestial aesthetics bring quiet luxury and modern witchcraft to your fingertips. The Abstract Celestial Constellation manicure combines a rich, opaque obsidian black base with fine metallic gold striping tape and hand-drawn starburst dots. It looks like an expensive, boutique-curated manicure yet takes only minutes to assemble.
Furthermore, this look transitions seamlessly from Halloween celebrations straight into general autumn and winter wear.
How to Recreate the Constellation Nails Step-by-Step
Begin by applying two coats of deep black gel polish to all almond nails and curing completely. Next, cut short segments of thin metallic gold striping tape using small scissors. Press the tape onto your nails diagonally to form abstract star-chart connecting lines. Trim excess tape flush with the nail sidewalls using clippers.
Dip a dotting tool or toothpick into gold metallic gel polish to stamp bright starburst dots where the tape lines intersect. Cure the metallic details. Finally, seal the entire design securely with a generous layer of glossy top coat to prevent any tape edges from lifting.
Required Polishes and Tools
- Deep obsidian black gel polish
- Thin metallic gold nail striping tape
- Small nail clipper scissors for trimming tape
- Metallic gold gel accent polish
- Fine wooden toothpicks or dotting tools
- High-gloss gel top coat
- UV/LED nail lamp
4. The Chic Slime Drip French Tips in Neon Lime
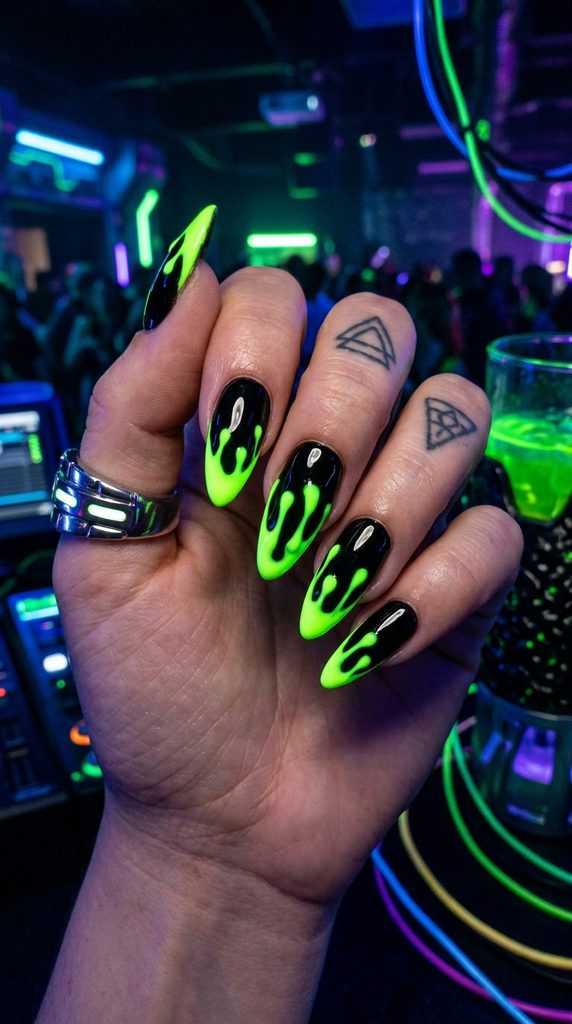
Radioactive Ooze Cascading Down Dark Accent Bases
Channel radioactive laboratory science experiments or spooky swamp monsters with neon green slime tips. This modern twist on the French manicure replaces traditional white edges with glowing, lime-green slime drips that ooze down toward your cuticles.
Additionally, contrasting radioactive green against a stark black base creates a high-voltage visual pop that glows intensely under party lighting.
How to Recreate the Slime Drip Nails Step-by-Step
Start with two coats of jet-black gel polish on all almond nails, allowing proper curing and wiping off any sticky layer. Next, take a bottle of vibrant neon lime-green gel polish and a fine liner brush. Paint a thick, slightly uneven green band across your free edge.
Then, use the brush tip to pull randomized, rounded, gooey ooze drips of varying lengths down onto your black nail plate. Touch up any wobbly lines or fill gaps using the brush. Allow the neon green layer to self-level for a moment before curing thoroughly. Finally, seal with a glossy top coat for wet-look slime realism.
Required Polishes and Tools
- Jet-black gel polish base
- Vibrant neon lime-green gel polish
- Acetone-free cleanser for wipe-offs
- Fine-tip nail art liner brush
- High-gloss gel top coat
- UV/LED nail lamp
5. The Vampy Oxblood Velvet Texture
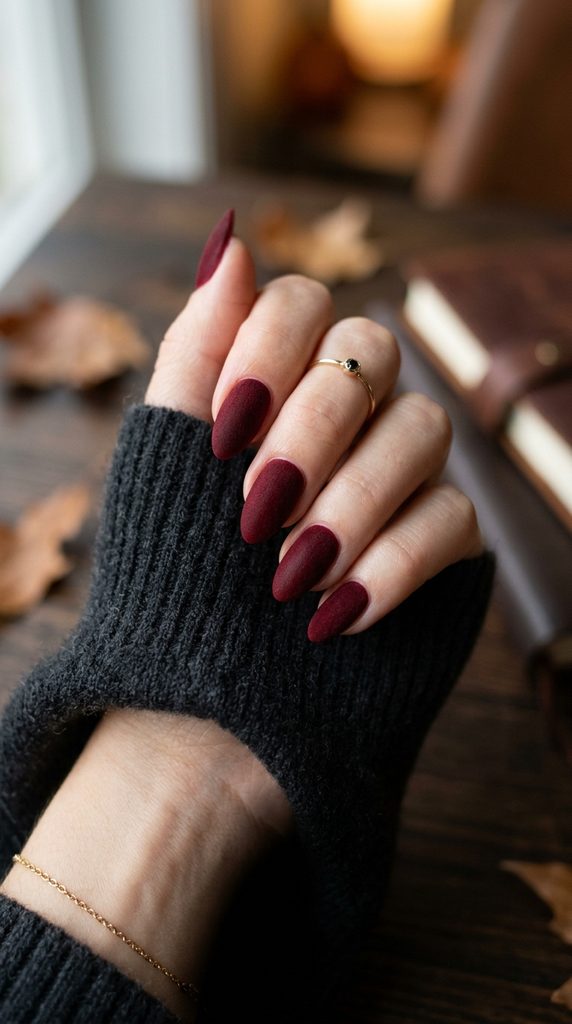
Deep Red Richness Catching Autumn Candlelight with Luxurious Sheen
Not every aesthetic Halloween manicure needs overt spooky imagery. The Vampy Oxblood Velvet Texture celebrates pure, rich color and high-end tactile finish. A deep, blood-red oxblood polish paired with a velvety matte top coat looks incredibly luxurious, mimicking the texture of fine crushed velvet or suede.
This sophisticated look is appropriate for any autumn evening event, from casual dinners to formal galas.
How to Recreate the Oxblood Velvet Nails Step-by-Step
First, apply a sticky base coat to your almond nails to ensure long wear. Next, apply two to three thin coats of a deep, saturated oxblood red or rich burgundy creme gel polish, curing between each layer until fully opaque.
Ensure your color coat is smooth and streak-free. Afterward, apply a generous layer of a velvety matte gel top coat over the color and cure thoroughly. You will see the shine instantly transform into a soft, deep, light-absorbing texture. Avoid applying cuticle oil until after the matte coat is fully cured and wiped.
Required Polishes and Tools
- Deep, saturated oxblood red or rich burgundy gel polish
- Sticky gel base coat
- Velvety matte gel top coat
- UV/LED nail lamp
- Lint-free wipes and gel cleanser
6. The 3-Minute Matte Black Spiderwebs on Nude Bases

Delicate Geometric Webbing Spun Across Accent Fingernails Instantly
Spiderwebs are an essential Halloween staple, but drawing them freehand on almond nails can feel intimidating and time-consuming. The secret to speed and precision is using a long, thin striping brush to paint three intersecting diagonal lines radiating from a central point, then connecting them with gentle inward-curving smiles.
Finishing with a matte top coat gives the web an authentic, dusty attic texture.
How to Recreate the Spiderweb Nails Step-by-Step
Begin by painting all almond nails in a sheer beige, muted grey, or pale nude base polish and curing. Let the base polish cure completely and remove the sticky layer. Next, dip a fine striping brush into jet-black gel polish. Paint three intersecting lines radiating from one upper sidewall corner of your accent nail.
Then, connect these radiating lines using three small, inward-curving smile arcs to form the web structure. Add a tiny spider dot hanging from the lowest web line. Apply a velvety matte top coat over the entire nail and cure. Watch the glossy black web transform into velvety texture instantly.
Required Polishes and Tools
- Sheer beige, muted grey, or pale nude gel base polish
- Jet-black gel polish for line work
- Long, fine nail art striping brush
- Velvety matte gel top coat
- UV/LED nail lamp
7. The Quick Ombre Blood-Moon Gradient
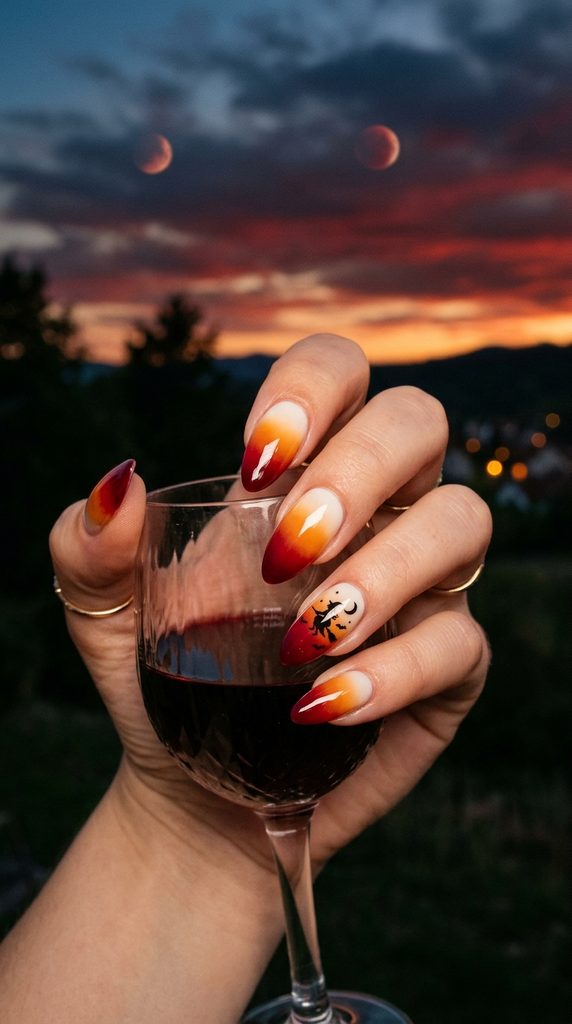
Fiery Orange Melting into Deep Crimson Twilight Skies Effortlessly
Capturing a dramatic harvest blood moon on your nails is remarkably easy using the cosmetic makeup-sponge gradient technique. By painting orange and crimson polishes onto a latex sponge and dabbing it repeatedly onto your almond nails, you achieve a seamless twilight ombre in moments.
Adding a tiny, minimalist black silhouette of a flying bat across the gradient completes the spooky cinematic effect.
How to Recreate the Blood-Moon Ombre Step-by-Step
Start by painting all almond nails with a solid white creme base polish to make gradient colors pop. Let dry or cure. Next, paint horizontal stripes of marigold orange and deep crimson red gel polish directly next to each other onto a wedge makeup sponge.
Dab the sponge repeatedly up and down across your nail bed until colors blend smoothly. Cure this layer. Repeat dabbing for opacity. Clean excess polish off your skin with an acetone-soaked brush. Use a fine brush and black gel to draw a tiny bat silhouette. Finish with a high-shine top coat to seal the blend.
Required Polishes and Tools
- Solid white gel polish base
- Marigold orange and deep crimson red gel polishes
- Disposable cosmetic wedge makeup sponges
- Jet-black gel polish and fine liner brush for silhouette
- Glossy gel quick-dry top coat
- Acetone and small brush for cleanup
8. The Gilded Black Marble Stone Effect

Moody Gothic Luxury with Metallic Gold Veining and High-Contrast Depth
Marble nail art is a sophisticated technique that looks incredibly high-end when rendered in moody black and gold. Creating the smoky, translucent marble effect involves layering sheer black jelly polish with streaks of white paint and thin, metallic gold foil veins.
This design pairs gorgeously with statement gold jewelry, elevating your entire autumn ensemble.
How to Recreate the Gilded Marble Nails Step-by-Step
Begin by applying two coats of a sheer black jelly or translucent black gel polish to all almond nails and curing. Do not wipe the sticky layer yet. Next, use a very thin brush to streak on irregular, thin lines of white gel paint. Before curing, use a clean brush dampened slightly with alcohol to soften and smudge the edges of the white lines into the black base, creating depth.
Cure the smoky marble. Afterward, apply dabs of clear adhesive gel in fine, jagged lines where you want gold veins. Press tiny pieces of gold transfer foil onto the adhesive, pulling away the backing sheet to leave metallic gold deposits. Finally, seal everything with a glossy top coat.
Required Polishes and Tools
- Sheer black jelly or translucent black gel polish
- White gel paint or highly pigmented white polish
- Metallic gold transfer foil sheets and clear foil adhesive gel
- Ultra-fine nail art brushes and small cleanup brush with alcohol
- High-gloss gel top coat
- UV/LED nail lamp
9. The Matte Mauve Ghostly Gaze
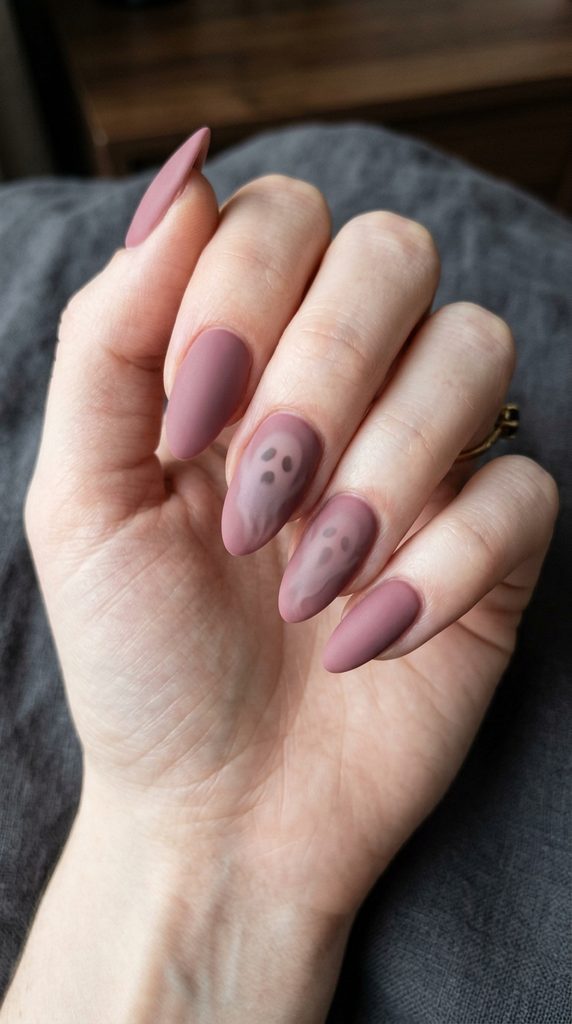
Ethereal Dusty-Rose Hues with Subtle, Unsettling Eye Silhouettes
For a truly aesthetic and unique approach to ghosts, try the Matte Mauve Ghostly Gaze. Instead of painting full cartoonish phantoms, this design focuses on faint, smoky, almond-shaped eye and mouth silhouettes peering out from behind a dusty rose or muted mauve matte base coat.
It’s mysterious, slightly unsettling, and exceptionally chic.
How to Recreate the Mauve Ghostly Gaze Step-by-Step
Start by applying two coats of an opaque dusty rose or muted mauve gel polish to all almond nails and curing. Apply a velvety matte top coat over all nails and cure completely. Next, using a fine liner brush and a slightly darker mauve or taupe gel shade, paint faint, smoky, almond-shaped eye silhouettes.
Smudge the edges of these eye shapes slightly with a dry brush before curing to give them an ethereal, spectral quality. Add tiny dark pupils. Afterward, add subtle, soft white highlights around the eye shapes to give them dimension. Finish with a final application of matte top coat over the art only.
Required Polishes and Tools
- Opaque dusty rose or muted mauve gel base polish
- Darker mauve or taupe gel polish for ghost shapes
- Jet-black gel polish for pupils
- White gel polish for highlights
- Fine nail art liner brush and small fluffy blending brush
- Velvety matte gel top coat
- UV/LED nail lamp
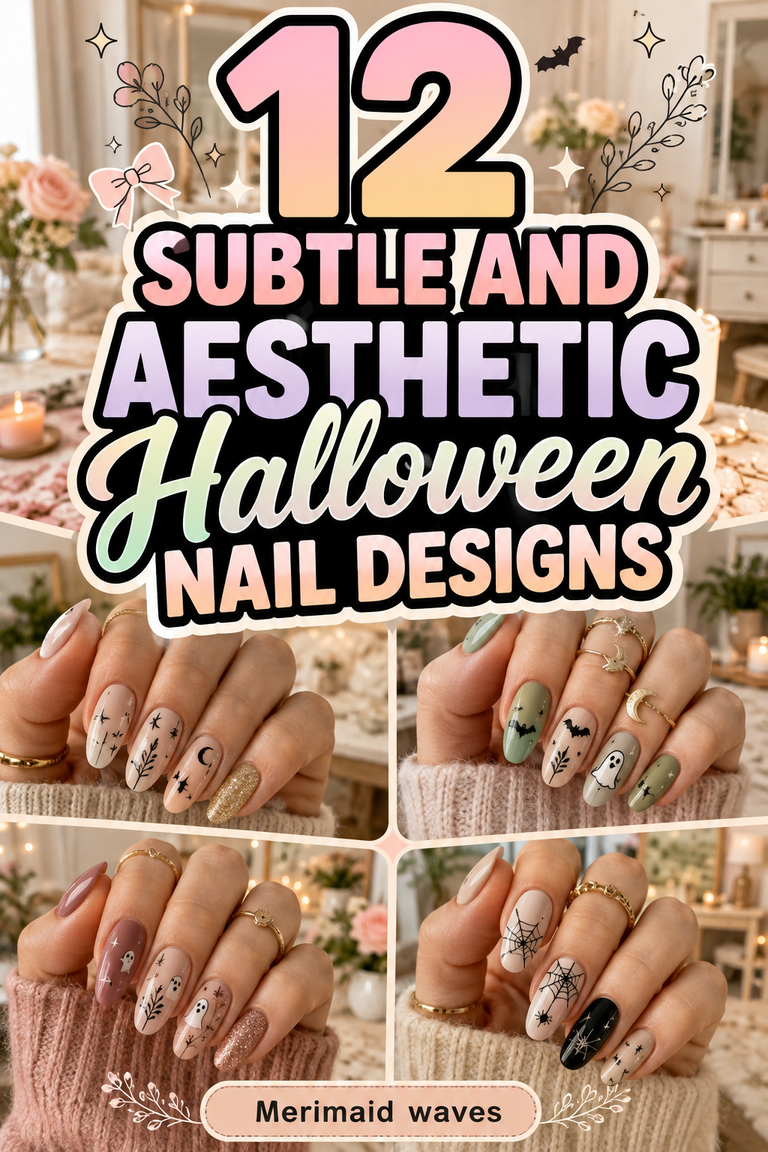
10. The Minimalist Negative Space Bat Flight Flock

Sleek Silhouette Flocks Soaring Across Bare Almond Nail Beds
Negative space nail art is a massive modern trend that leaves portions of your natural nail exposed for a graphic, airy finish. The Negative Space Bat Flight design utilizes tiny black bat stickers or hand-painted silhouettes placed against a clean, sheer pink or natural beige base coat.
Furthermore, because the background is entirely nude, nail growth remains virtually invisible for days, extending the lifespan of your chic manicure significantly.
How to Recreate the Negative Space Bat Flight Step-by-Step
Start by applying a strengthening clear base coat or a sheer milky pink tint to all almond nails. Allow it to dry or cure completely. Next, use precision tweezers to lift tiny, pre-made black bat water-slide decals or adhesive nail stickers from their backing sheet.
Carefully press one bat decal gracefully onto the center curve or side edge of each nail bed. Add a flock of smaller bat decals trailing off the main one. Smooth out any air bubbles with your fingertip. Afterward, add tiny black dot starbursts around the bats using a toothpick. Finally, seal the decals with two coats of high-shine glossy top coat.
Required Polishes and Tools
- Sheer milky pink tint or strengthening clear base coat
- Tiny black bat adhesive nail stickers or water decals
- Precision tweezers for placement
- High-shine glossy gel top coat
- UV/LED nail lamp (if using gel top coat)
11. The Gilded Cracked Forest Floor
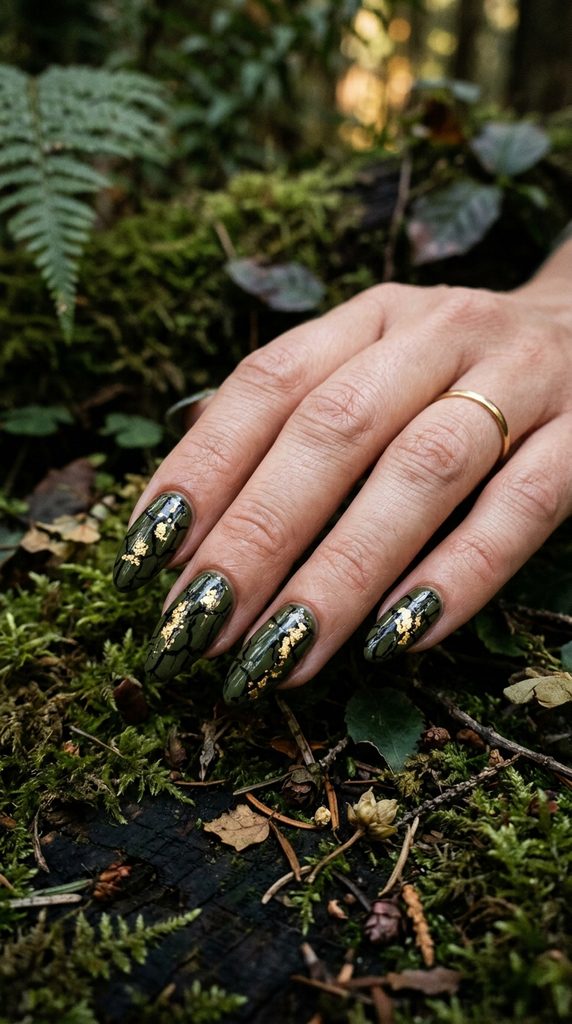
Darkened Earthy Tones with Textured Gold Leaf Detailing Catching Light
Embrace dark botanical and witchy forest aesthetics with the Gilded Cracked Forest Floor manicure. This design combines an earthy deep olive green or blackened brown base with textural crackle polish accents and genuine gold leaf flakes pressed organically onto the surface.
It evokes visions of mossy, enchanted woods touched by magic under moonlight.
How to Recreate the Gilded Cracked Forest Nails Step-by-Step
Begin by painting all almond nails in a deep, moody olive green or blackened brown creme gel polish and curing. Apply a matte top coat and cure completely. Next, apply a thin layer of black crackle nail polish over your accent nails and watch it shatter instantly as it air-dries for two minutes.
Once the crackle pattern is set, apply small dabs of clear adhesive gel over the cracked areas. Press delicate, thin genuine gold leaf foil flakes onto the adhesive using tweezers or a dry brush, letting them scatter organically. Seal the entire design securely with two layers of glossy top coat, ensuring the textured gold leaf is completely encapsulated smooth.
Required Polishes and Tools
- Deep moody olive green or blackened brown gel polish
- Black crackle nail polish (regular lacquer works over gel)
- Genuine gold leaf foil flakes sheets
- Clear foil adhesive gel or top coat for gel