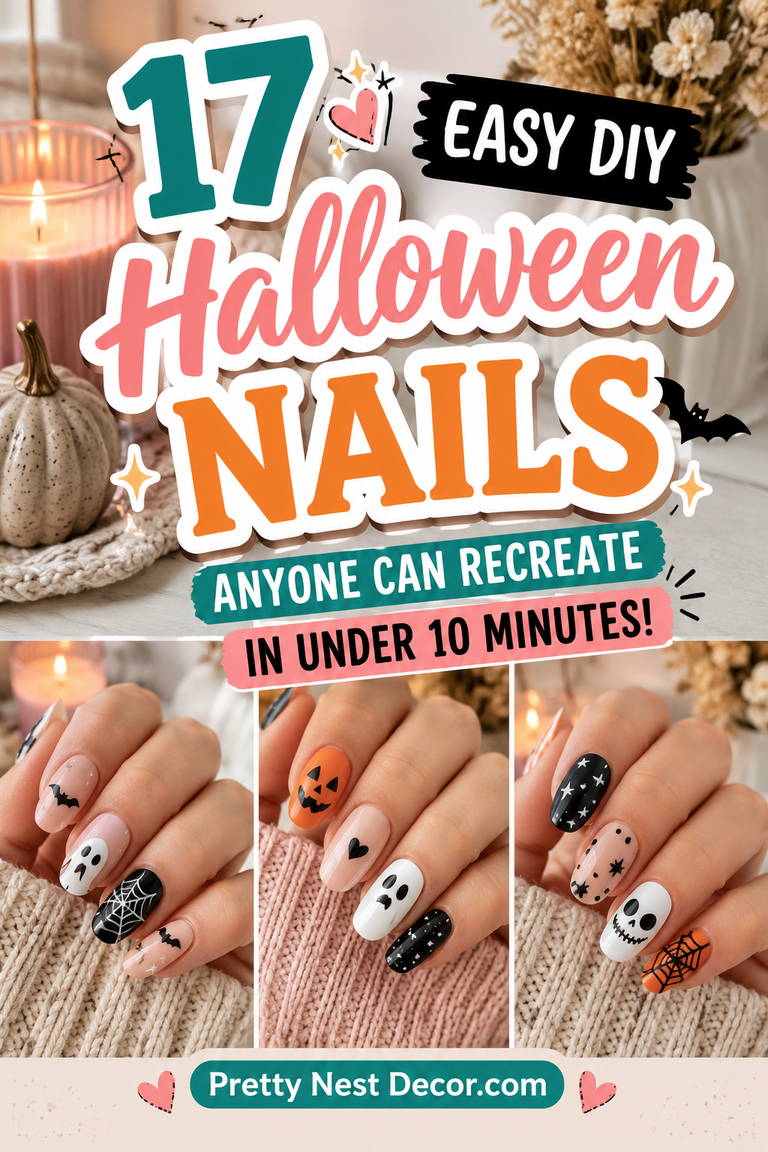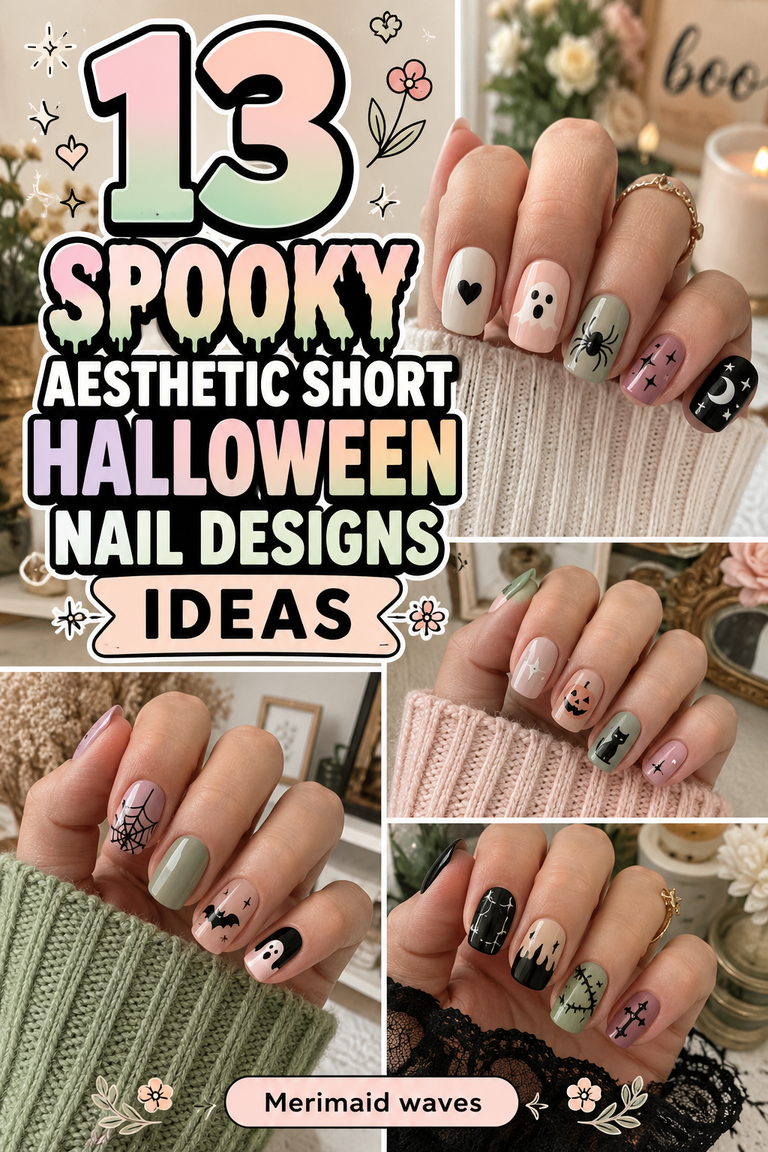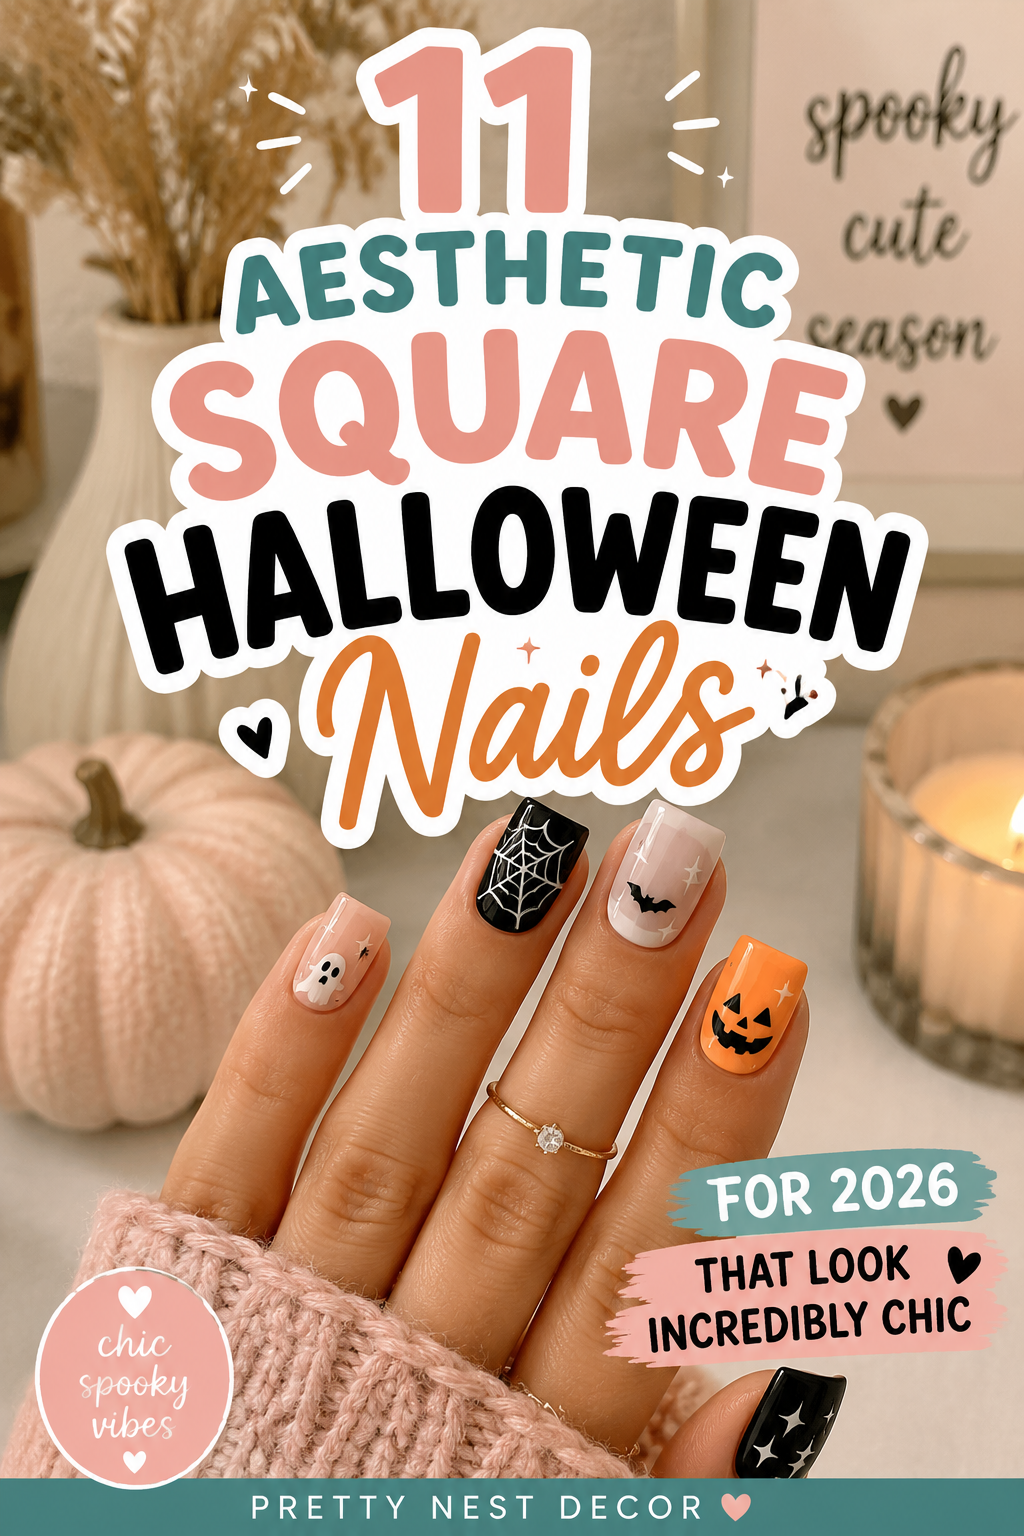
11 Aesthetic Square Halloween Nails for 2026 That Look Incredibly Chic
Nail art has undergone a profound, high-fashion cultural revolution, moving decisively away from novelty plastic adornments and chaotic cartoonish motifs toward sophisticated, wearable design. When October arrives, fashion enthusiasts and modern trendsetters increasingly seek manicures that elevate their seasonal wardrobe through architectural precision, minimalist geometry, and moody dark romance.
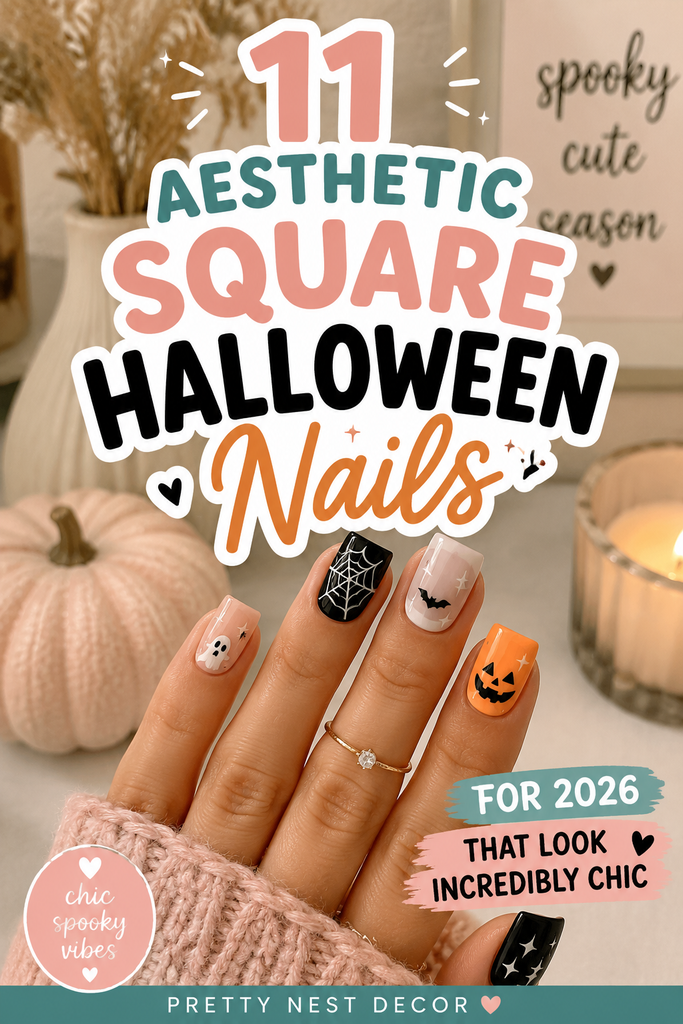
Among all nail silhouettes, the clean, sharp lines of the square nail—whether structured as a classic blunt box or softened slightly into a modern coffin-square—provide the ultimate modern canvas for high-end editorial execution. The sharp 90-degree corners act as a natural frame, giving graphic lines, negative space, and dark luxury textures an intentional, runway-ready finish that feels both powerful and refined.
These eleven aesthetic square Halloween nail ideas for 2026 celebrate the perfect fusion of structural integrity and spooky seasonal storytelling. By pairing sharp square geometries with negative space, high-end textural finishes, and muted, luxury color palettes, you achieve a manicure that transitions effortlessly from the boardroom to an upscale evening gala. Let us explore eleven breathtaking inspiration ideas to elevate your spooky season this year.
1. The Sharp Box Obsidian and Gold Geodesic Frame
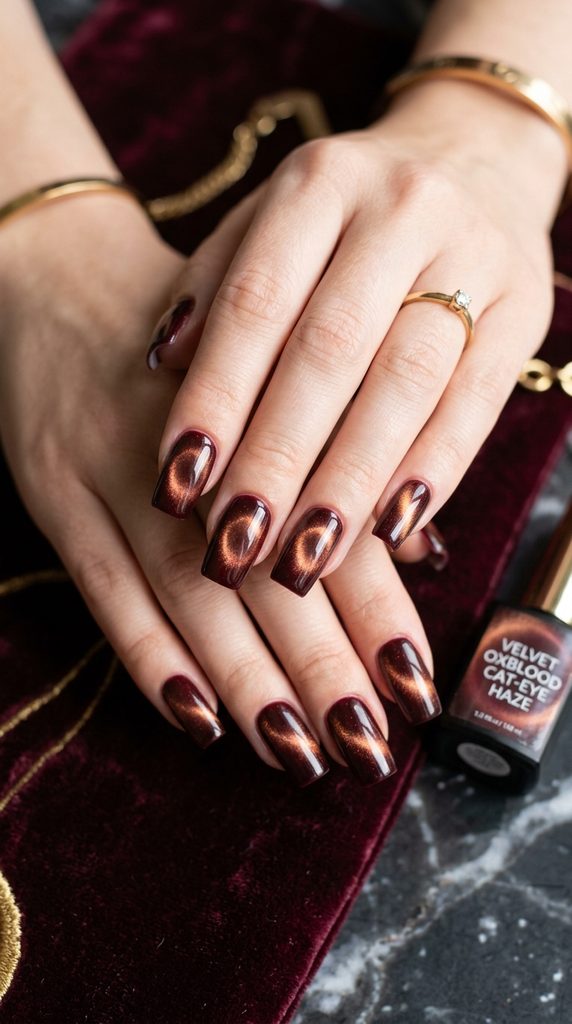
Monolithic Black Square Nails Framed in Metallic Gold Foil Geometry
Embrace brutalist architectural elegance on your fingertips with the Sharp Box Obsidian and Gold Geodesic Frame. This design utilizes a flawless jet-black square base accented by razor-thin, hand-painted metallic gold foil frames that trace the exact perimeter of the nail tip, echoing the steel-and-glass framework of modern skyscrapers.
Furthermore, the sharp 90-degree corners of the square silhouette amplify the linear precision of the gold framing, creating an expensive, boutique-curated aesthetic that commands immediate attention without relying on loud characters or glitter.
How to Recreate the Geodesic Frame Step-by-Step
First, apply two opaque coats of jet-black gel polish to your structured square nails, curing thoroughly under your UV lamp to ensure a deep, light-absorbing finish. Next, apply a striping gel or clear foil adhesive along the outer perimeter edges of each nail tip, forming a clean rectangular border that respects the natural geometry of the square shape.
Then, press genuine gold leaf transfer foil firmly onto the tacky adhesive lines, pulling away the backing sheet to reveal crisp metallic deposits. Seal the design with a high-shine glossy top coat to lock in the foil geometry and create a stunning depth illusion.
Required Polishes and Tools
- Jet-black gel polish
- Genuine gold leaf transfer foil sheets and adhesive gel
- Ultra-fine nail art striping brush
- High-shine gel top coat and UV/LED nail lamp
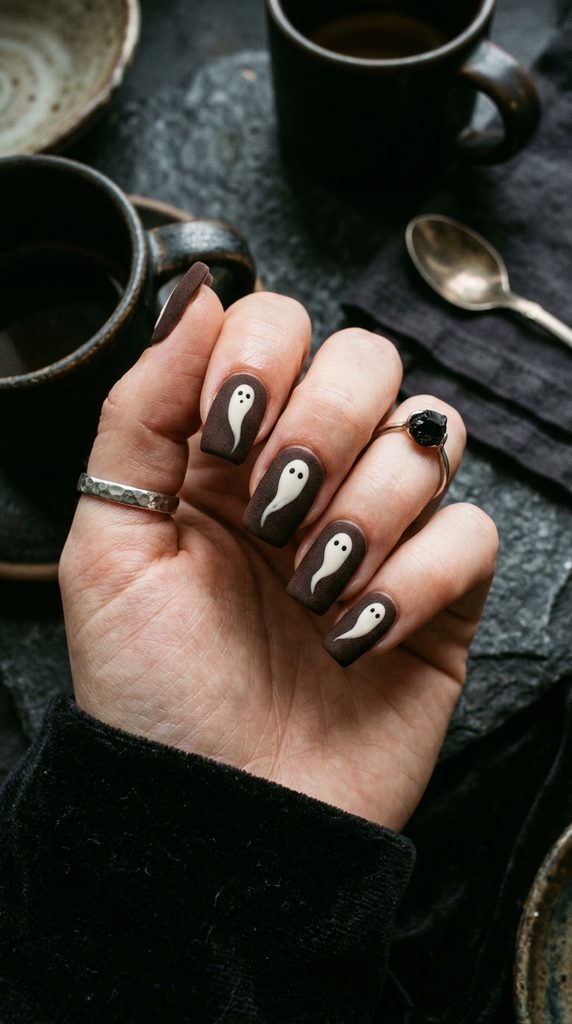
2. The Matte Espresso Ghostly Silhouette Block
Rich Warm Brown Muted Tones Accompanied by Minimalist Ivory Phantoms
Move away from standard stark black and bright white by introducing cozy, rich warm browns to your autumn color palette. The Matte Espresso Ghostly Silhouette Block pairs a velvety matte espresso-brown square nail base with minimalist, elongated ivory ghost shapes that mimic vintage screen-printed posters and moody mid-century illustration art.
Additionally, finishing the entire set in a soft, light-absorbing matte top coat gives the nails a tactile, luxurious suede texture that feels exceptionally comforting during chilly October days.
How to Recreate the Espresso Ghost Block Step-by-Step
Begin by applying two coats of rich espresso-brown gel polish to your square nails, curing between layers to build a smooth, streak-free canvas. Apply a velvety matte gel top coat over all fingers and cure completely. Next, dip a fine liner brush into creamy ivory gel polish and paint an elongated, organic ghost silhouette near the cuticle base, keeping the lines soft and slightly asymmetrical for an artistic feel.
Use a dotting tool dipped in black gel to add two tiny, haunting dot eyes. Cure the painted ghost details, then seal only the art with a localized dab of matte top coat to preserve the tactile contrast.
Required Polishes and Tools
- Rich espresso-brown gel polish
- Creamy ivory creme gel polish and jet-black gel
- Fine nail art liner brush and dotting tool
- Velvety matte gel top coat and UV/LED nail lamp
3. The Negative Space Midnight Bat Flight Grid
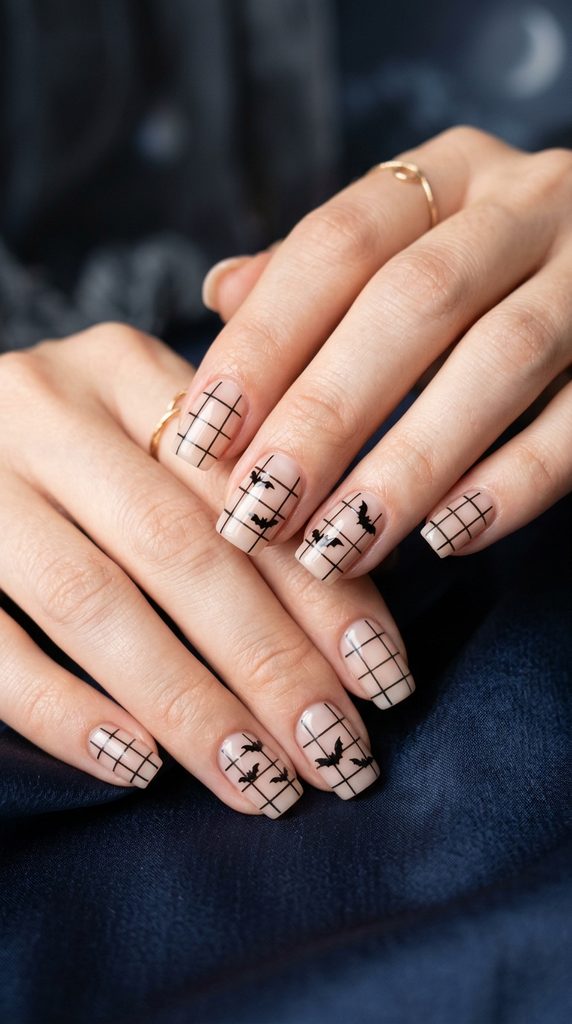
Clean Negative-Space Geometry Intersected by Soaring Silhouettes
Negative space nail art remains a dominant trend because it keeps graphic designs looking airy, modern, and effortless. The Negative Space Midnight Bat Flight Grid features a sheer milky nude base overlaid with an ultra-thin black grid line network, across which tiny, hand-painted silhouette bats soar gracefully in asymmetric migration patterns.
Moreover, because the background exposes your natural nail bed, grow-out lines remain virtually invisible for weeks, making this intricate design surprisingly practical for busy schedules.
How to Recreate the Negative Space Bat Grid Step-by-Step
Start by applying a strengthening sheer milky pink or nude base coat across all square nails to ensure a healthy, uniform nail bed foundation. Once cured, wipe away any tacky residue with isopropyl alcohol to create a smooth drawing surface. Using an ultra-fine striping brush dipped in jet-black gel, paint a precise vertical and horizontal grid line pattern across your accent nails.
Then, paint tiny, swooping silhouette bats within select grid squares to break up the symmetry. Cure the linework thoroughly. Finally, seal the entire graphic masterpiece with two coats of high-shine glossy top coat to protect the grid lines and give the negative space a glass-like shine.
Required Polishes and Tools
- Strengthening sheer milky pink gel base coat
- Jet-black gel polish for grid lines and bats
- Ultra-fine nail art striping brush
- High-shine gel top coat and UV/LED nail lamp
4. The Velvet Oxblood Cat-Eye Magnetic Haze
Shimmering Blood-Red Velvet Particles Pulled Into Mesmerizing Mystical Orbs
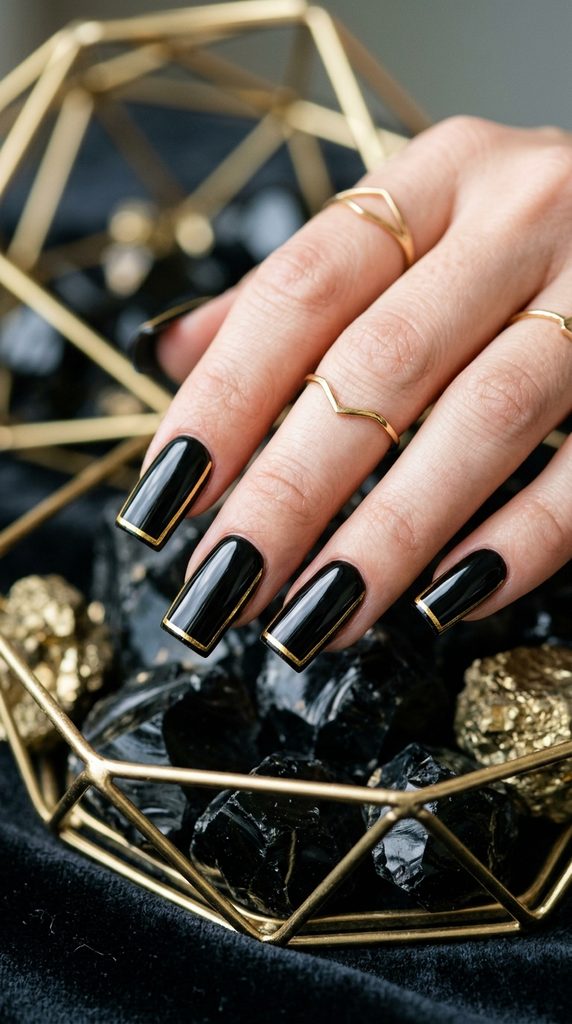
Cat-eye magnetic polishes continue to dominate luxury manicure trends due to their multi-dimensional, light-reflective depth. The Velvet Oxblood Cat-Eye combines a rich blood-red gel base with iron-infused magnetic pigment particles that, when manipulated with a magnet, create a glowing, otherworldly obsidian-and-ruby haze across flat square nail beds.
Furthermore, the sharp corners of square nails catch the magnetic light dispersion brilliantly, creating a dynamic visual shift every time your hands move under ambient lighting.
How to Recreate the Cat-Eye Haze Step-by-Step
Begin by applying a dark black gel polish base coat to your square nails and curing, as a black underlayer dramatically enhances the dimensional shift of magnetic pigments. Next, apply a coat of rich oxblood red magnetic cat-eye gel polish without curing it yet. Hold a strong neodymium horseshoe magnet over the nail for ten seconds to pull the metallic particles into a glowing central horizontal band or deep celestial orb.
Flash-cure the magnetic shift immediately under your lamp to lock the pattern in place before the particles disperse. Repeat for all fingers. Finally, seal with a high-shine top coat to maximize the liquid-glass reflection.
Required Polishes and Tools
- Dark black gel polish base
- Rich oxblood red magnetic cat-eye gel polish
- Strong neodymium magnet wand
- High-shine gel top coat and UV/LED nail lamp
5. The Pale Alabaster Minimalist Cross and Relic
Historic Dark Academia Symbolism Rendered in Crisp Black Ink on Ivory
Channel nineteenth-century gothic literature and ecclesiastical architecture with the Pale Alabaster Minimalist Cross and Relic. This design features a solid, opaque pale alabaster ivory base accented by clean, fine-line black crosses and botanical thorn motifs positioned precisely in the center of blunt square nails, evoking the feeling of an antique prayer book.
Additionally, this intellectual, quiet-luxury design pairs gorgeously with tailored wool coats, antique silver jewelry, and dark academic layering.
How to Recreate the Alabaster Cross Step-by-Step
Start by applying two coats of opaque alabaster ivory gel polish to your square nails, curing between layers to achieve a flawless, porcelain-like opacity. Next, take a precision black gel paint and a fine liner brush. Paint a minimalist Latin cross or an intricate Maltese cross right in the center of your statement nail, ensuring the lines remain ultra-crisp.
Add delicate thorn-like tick marks along the sidewalls of adjacent nails to complete the relic theme. Cure the black ink details completely. Seal the manicure with a durable, scratch-resistant glossy top coat to protect the fine linework from daily wear.
Required Polishes and Tools
- Opaque alabaster ivory gel polish
- Precision black gel paint or ink liner
- Ultra-fine nail art liner brush
- Durable scratch-resistant glossy top coat and UV/LED lamp
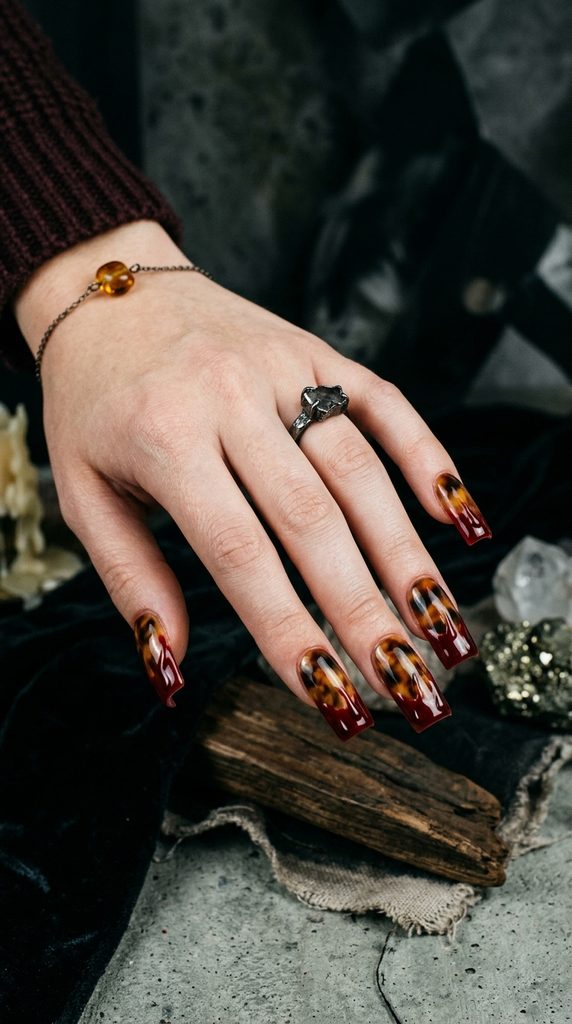
6. The Smoked Tortoiseshell and Blood-Drip Tips

High-Fashionber Tortoiseshell Pattern Anchored by Crimson French Drips
Tortoiseshell is a perennial autumn neutral, but pairing it with Halloween crimson blood drips creates an avant-garde editorial statement that bridges classic style with macabre subversion. The Smoked Tortoiseshell and Blood-Drip Tips feature translucent amber-and-black tortoiseshell nail beds capped with glossy oxblood red drips cascading down the square free edges like molten wax.
Moreover, the blend of classic tortoiseshell warmth with dramatic red drips showcases exceptional nail artistry that feels curated rather than costume-driven.
How to Recreate the Tortoiseshell Blood Dips Step-by-Step
Begin by applying a sheer amber-brown jelly gel base. While wet, drop small spots of translucent black jelly polish into the amber, softening the edges with alcohol to create the organic tortoiseshell cloud effect. Cure and repeat for depth.
Next, paint a thick band of oxblood red gel across the square free edge, using a fine detail brush to pull random, organic downward drips of varying lengths. Cure the red layer. Finally, apply a high-shine glass-finish top coat over the entire nail to unify the tortoiseshell and crimson layers into a seamless, glossy plane.
Required Polishes and Tools
- Translucent amber-brown and black jelly gel polishes
- Oxblood red gel polish and fine detail brush
- Isopropyl alcohol and small blending brush
- High-shine glass-finish top coat and UV/LED lamp
7. The Gunmetal Chrome Metallic Spiderweb Blocks
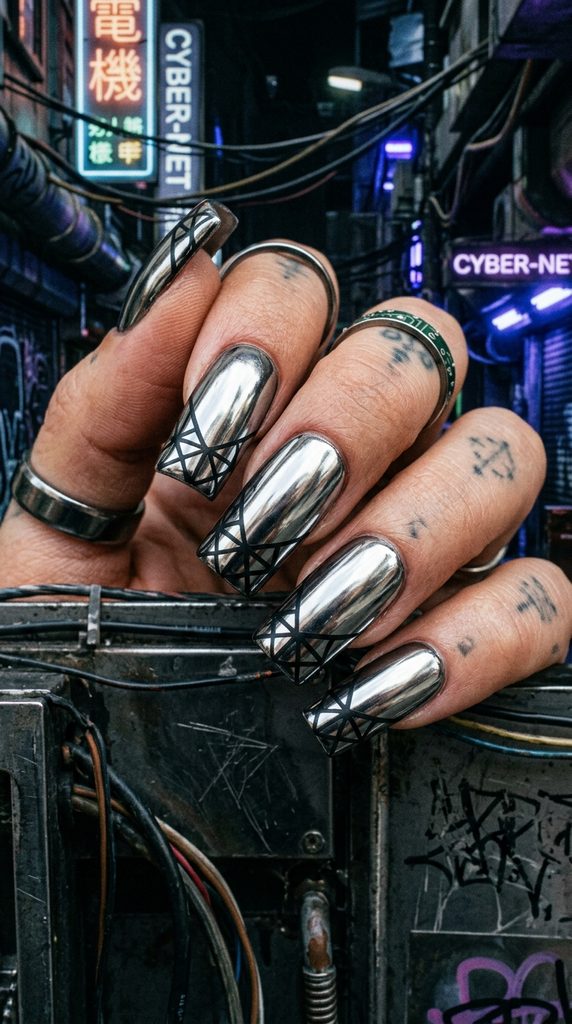
Industrial Sci-Fi Mirror Chrome Finish Overlaid with Matte Black Webs
Merging industrial cyberpunk styling with classic Halloween horror yields breathtaking modern results that feel entirely unexpected. The Gunmetal Chrome Metallic Spiderweb Blocks feature a blinding, high-shine liquid gunmetal silver chrome base contrasted sharply by matte black geometric web corners painted on square tips.
Additionally, the stark contrast between liquid mirror chrome and light-absorbing matte black creates an unforgettable visual punch that catches every glimmer of party lighting.
How to Recreate the Gunmetal Chrome Webs Step-by-Step
Start by applying a black gel base, curing, and rubbing gunmetal silver chrome powder over the surface using a silicone applicator sponge until a mirror finish is achieved. Seal with a top coat and cure. Next, apply a strip of matte top coat over selected geometric triangle sections on the nail corners to create a striking split-finish texture.
Using a fine brush and black gel paint, draw delicate web lines across the matte sections, allowing the chrome to shine through the uncovered areas. Cure the black webbing. Leave the remaining chrome exposed for maximum industrial reflection.
Required Polishes and Tools
- Jet-black gel polish and non-wipe top coat
- Gunmetal silver chrome powder and applicator sponge
- Velvety matte gel top coat and fine liner brush
- Black gel paint and UV/LED nail lamp
8. The Sheer Nude Constellation Astrology Grid
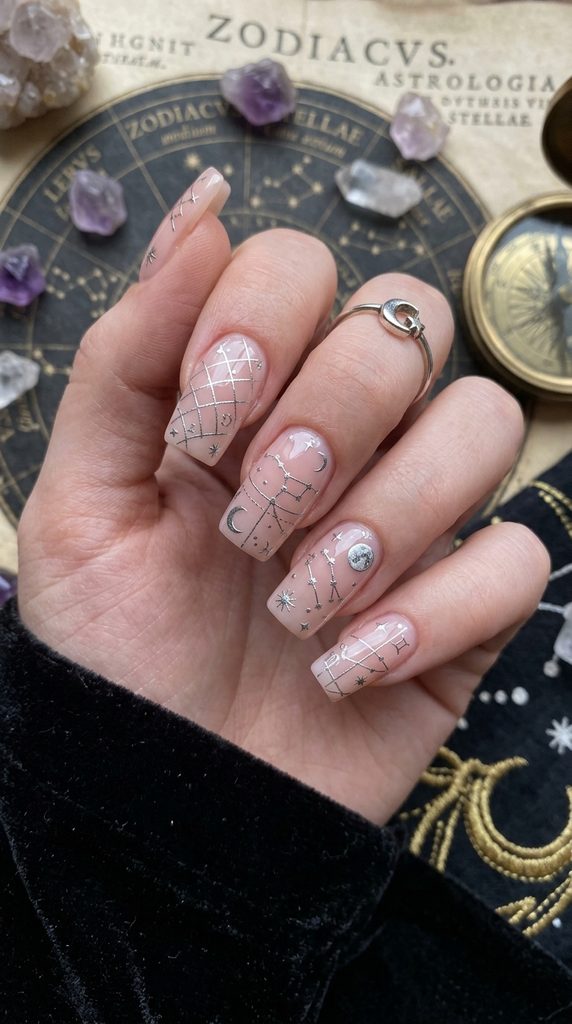
Understated Cosmic Witchcraft Rendered in Fine Silver Micro-Lines
For those who prefer subtle, celestial witchcraft over overt horror imagery, the Sheer Nude Constellation Astrology Grid is a masterclass in quiet elegance. Set against a sheer nude pink square base, delicate micro-lines map out astrological star charts and crescent moon phases in shimmering silver ink, evoking an ancient navigator’s parchment.
Furthermore, the square nail geometry provides clean, boxy borders that anchor sprawling celestial maps with graphic stability and balance.
How to Recreate the Constellation Grid Step-by-Step
Begin by applying two coats of sheer nude pink gel polish to your square nails and curing to create a healthy, natural foundation. Wipe away the sticky residue with alcohol. Using a metallic silver gel paint and an ultra-fine detail liner brush, paint delicate diagonal star-chart lines across the nail bed, connecting imaginary points.
Add tiny four-point starburst dots and miniature crescent moons at key intersection points to enhance the witchy atmosphere. Cure the silver celestial details thoroughly. Seal the design with a protective, high-gloss top coat to prevent chipping.
Required Polishes and Tools
- Sheer nude pink gel polish base
- Metallic silver gel paint or ink liner
- Ultra-fine detail nail art liner brush
- High-gloss protective top coat and UV/LED nail lamp
9. The Monochrome Optical Illusion Skulls

Tonal Glossy Black Skull Silhouettes Cast Against Velvety Matte Bases
Optical illusion nail art tricks the human eye by playing with contrasting light reflections on a monochromatic plane. The Monochrome Optical Illusion Skulls feature tonal, glossy black skull silhouettes painted precisely against a velvety matte black square nail base, creating a subtle, high-fashion graphic pattern that reveals itself slowly upon closer inspection.
Moreover, the skulls are only fully visible when light catches the glossy varnish at specific angles, embodying true stealth gothic luxury for the minimalist dresser.
How to Recreate the Optical Illusion Skulls Step-by-Step
Start by applying two coats of jet-black gel polish to all square nails and curing completely to ensure a rich, dark canvas. Apply a velvety matte gel top coat over the entire set and cure. Next, take a non-wipe glossy gel top coat and a fine detail brush.
Carefully paint the abstract silhouette of a skull head and jawbone onto the matte black surface using the glossy top coat, relying on the finish contrast rather than color difference. Flash-cure immediately so the glossy varnish won’t spread or flatten. Seal with a final matte layer around the art.
Required Polishes and Tools
- Jet-black gel polish base
- Velvety matte gel top coat
- Non-wipe glossy gel top coat for tonal contrast
- Fine detail nail art brush and UV/LED nail lamp
10. The Dark Emerald Poison Potion Gradient
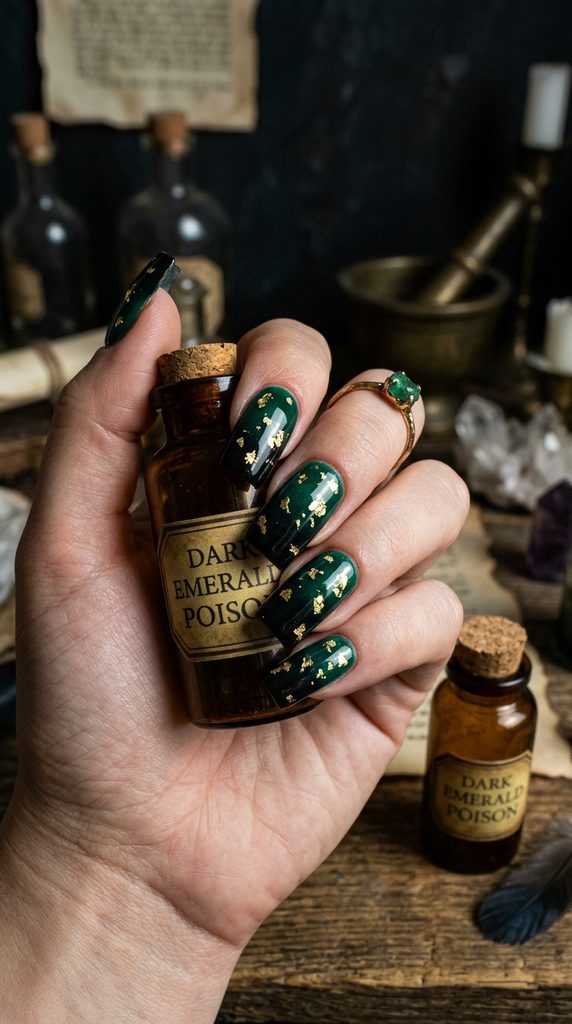
Rich Forest Green Melting into Inky Black with Gold Leaf Flakes
Evoke ancient alchemical poison brews and enchanted forest canopies with the Dark Emerald Poison Potion Gradient. This design blends a deep, jewel-toned emerald green gel base into an inky black shadow at the square free edges, embellished with floating organic gold leaf flakes that catch the light like suspended potion ingredients.
Additionally, the sharp corners of square nails frame the dark gradient fade with clean, modern architectural lines, keeping the rich jewel tones looking crisp and intentional.
How to Recreate the Poison Gradient Step-by-Step
Begin by applying a solid white base coat to your square nails for maximum color vibrancy, then cure. Apply deep forest emerald green gel polish over the lower half of the nail. Using a cosmetic sponge dabbed with black gel, gently sponge a dark gradient fade downward from the free edge, melting the two shades together.
Cure the gradient blend. Afterward, press genuine gold leaf flakes organically onto the center transition zone where the green meets the black. Seal the entire alchemy potion look with a crystal-clear glossy top coat to lock in the metallic leaf.
Required Polishes and Tools
- Deep forest emerald green and jet-black gel polishes
- Disposable cosmetic wedge makeup sponge
- Genuine gold leaf foil flakes sheets
- Crystal-clear glossy top coat and UV/LED nail lamp
11. The Vintage Tarot Card Major Arcana Accent
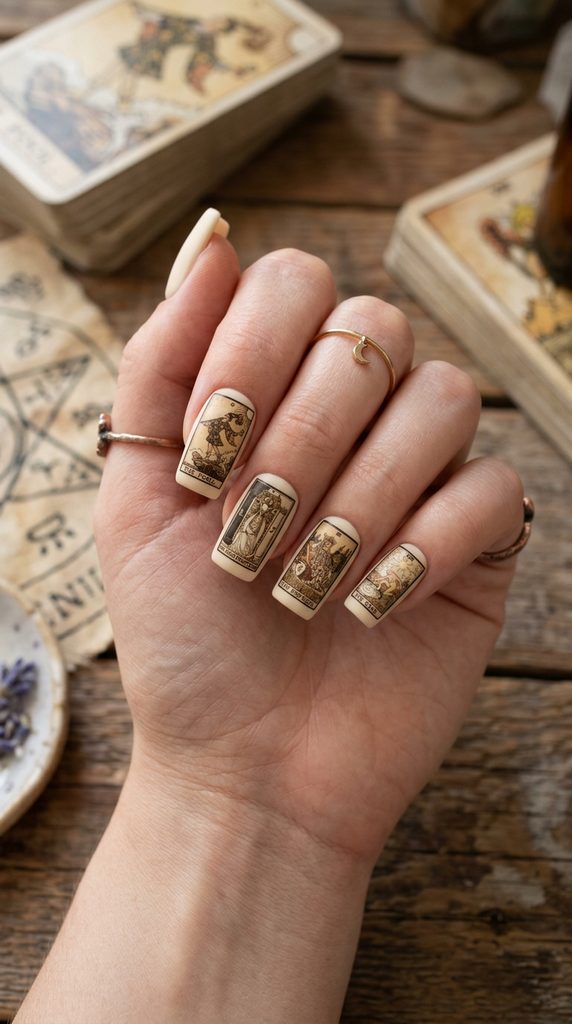
Intricate Micro-Illustrations of Esoteric Tarot Imagery on Blunt Square Beds
Conclude your spooky season nail journey with the ultimate statement piece: the Vintage Tarot Card Major Arcana Accent. Utilizing specialized nail stamping plates or ultra-fine micro-painting techniques, this design features miniature, sepia-toned tarot card illustrations—such as The Death card or The Moon—stamped onto creamy beige square accent nails, turning your hands into a traveling gallery of esoteric art.
Furthermore, framing these miniature tarot prints with thin black border lines makes them look like authentic antique miniature paintings mounted safely behind glass.
How to Recreate the Tarot Accent Step-by-Step
Start by applying two coats of opaque creamy beige gel polish to your statement square nails and curing to achieve an aged parchment background. Select a metal nail stamping plate featuring vintage tarot card illustrations. Apply black stamping polish over the etched tarot design, scrape flat at a 45-degree angle, and pick up the image using a clear silicone stamper.
Carefully transfer the tarot graphic onto your beige nail bed, aligning it precisely within the square boundaries. Seal the fragile stamp immediately with a water-based sealing top coat to prevent smearing, followed by a durable gel top coat for lasting protection.
Required Polishes and Tools
- Opaque creamy beige gel polish base
- Metal nail stamping plate featuring tarot graphics
- Black nail stamping polish, scraper, and clear silicone stamper
- Water-based sealer and durable gel top coat
- UV/LED nail lamp