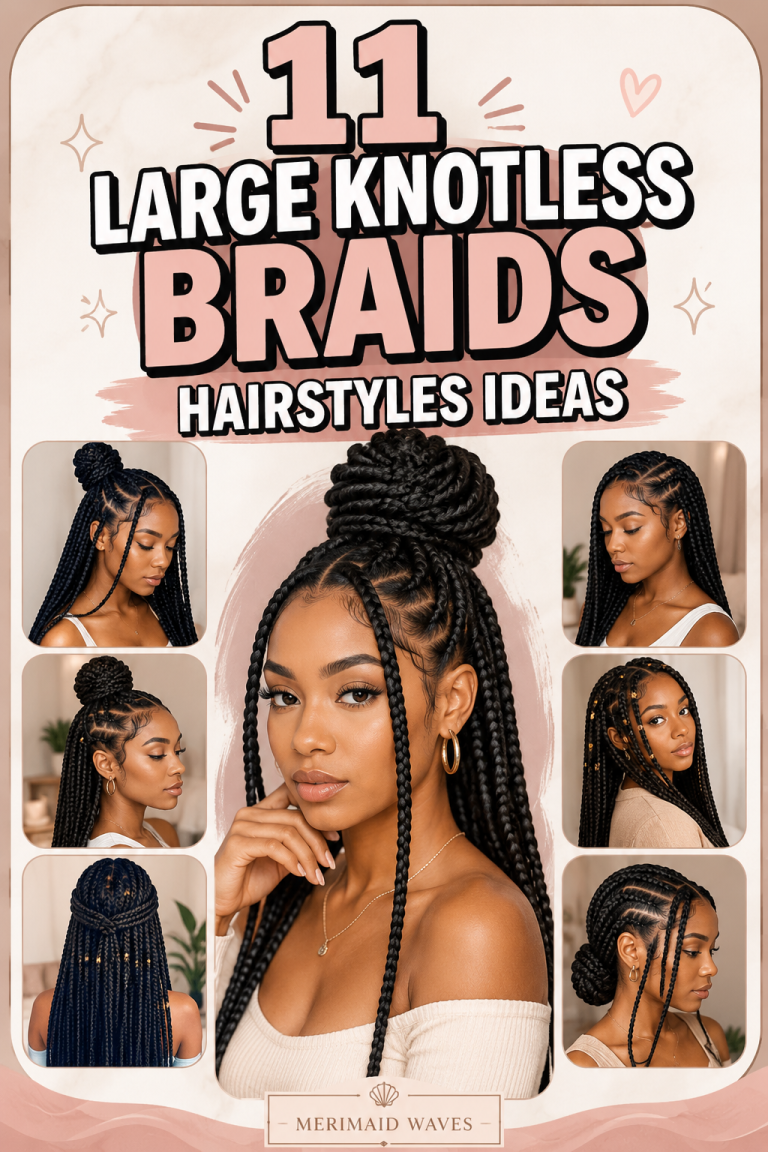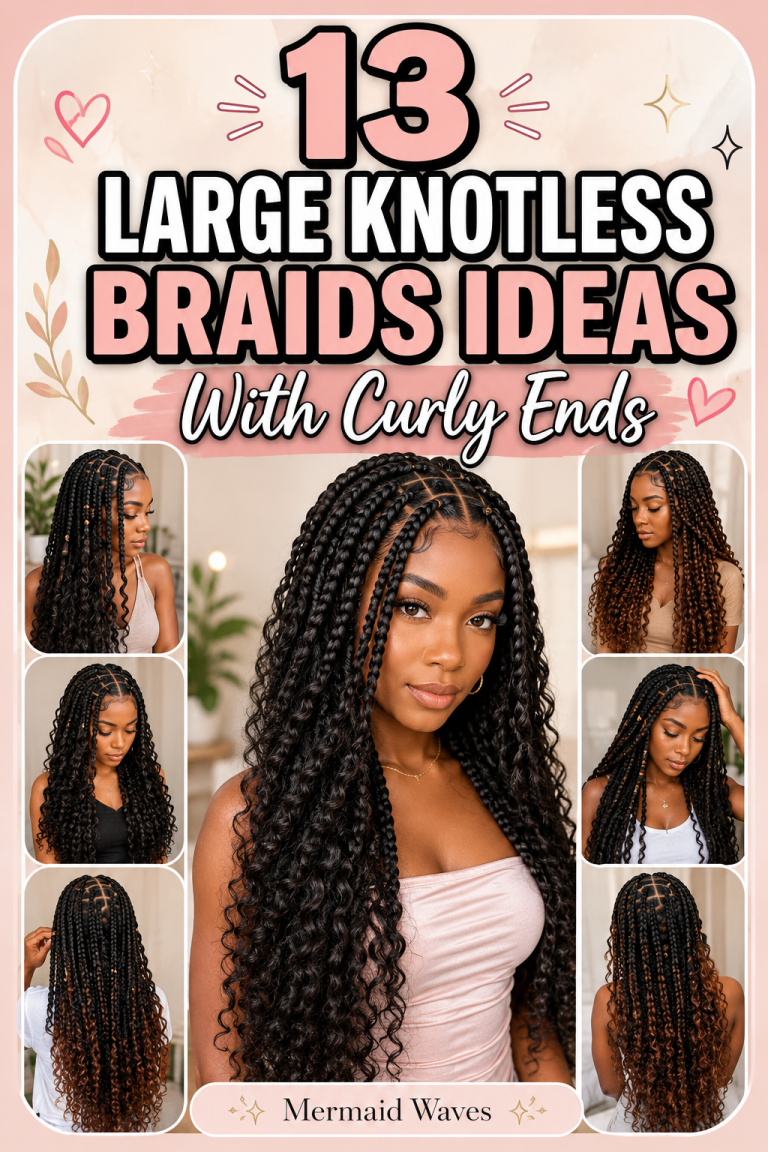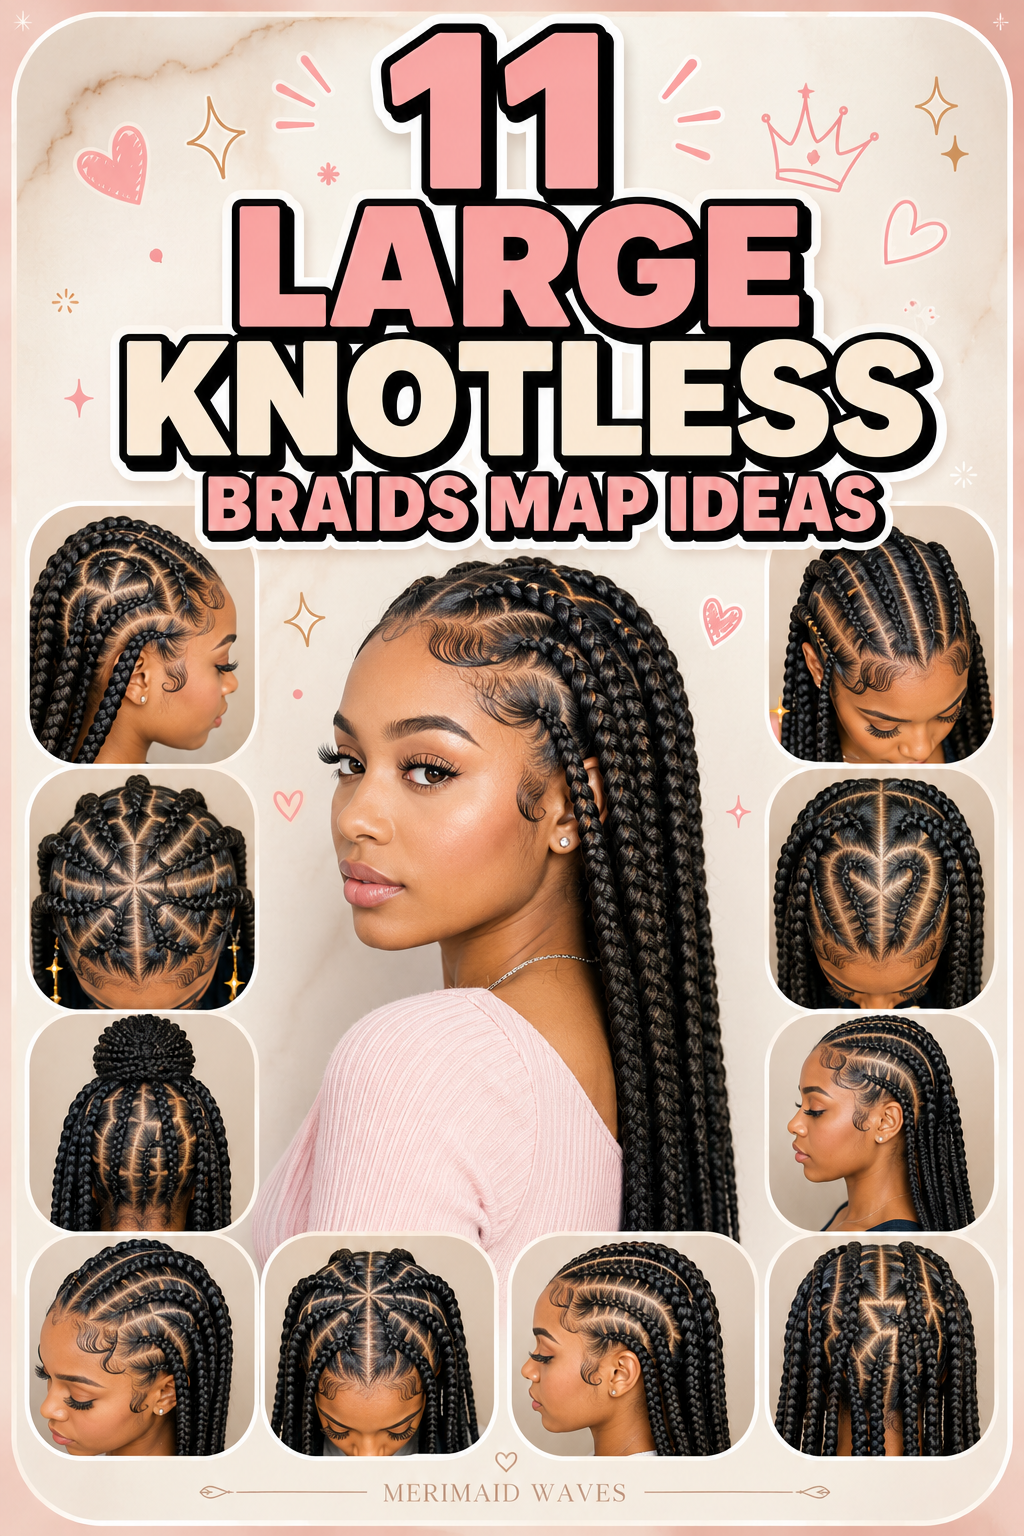
11 Large Knotless Braids Map Ideas
Large knotless braids have become one of the most popular protective hairstyles in recent years, especially within modern African and global beauty trends. They are loved for their lightweight feel, natural scalp tension, and clean, seamless finish. Unlike traditional box braids that start with a tight knot at the root, knotless braids begin with your natural hair and gradually feed in extensions, creating a smoother and more comfortable look that puts less stress on the scalp.

One of the biggest reasons this hairstyle has gone viral on Pinterest, Instagram, and TikTok is its combination of beauty and practicality. Large knotless braids are not only stylish but also long-lasting and protective, making them ideal for people who want a low-maintenance hairstyle that still looks polished every day. Whether you’re going to work, traveling, attending events, or simply enjoying a relaxed lifestyle, this braid style adapts effortlessly to every situation.
However, what truly makes large knotless braids stand out is not just the braids themselves, but the mapping technique used before installation. A braid “map” refers to the sectioning pattern created on the scalp before braiding begins. This pattern determines how the braids will fall, how symmetrical the style will look, how the scalp will be exposed, and how versatile the final hairstyle will be for styling into ponytails, buns, or half-up looks.
Many people underestimate the importance of braid mapping, but professional braiders know that a well-planned pattern is the foundation of a flawless install. Even the most beautiful braiding technique can look uneven or bulky if the parting system is not carefully designed. On the other hand, a well-structured map can make simple large braids look clean, balanced, and high-end.
Large knotless braids offer a wide range of styling possibilities depending on how the hair is sectioned. Some maps focus on natural flow and movement, while others emphasize sharp geometric parts for a bold, structured look. Some are designed for maximum styling flexibility, allowing high ponytails or buns, while others are meant for relaxed, free-flowing styles that showcase braid length and thickness.
Another major benefit of knotless braids is comfort. Because the braids are lighter and less tight at the scalp, they reduce tension headaches and breakage, making them a healthier option for long-term protective styling. This is especially important for people who wear braids regularly or want to maintain natural hair growth underneath.
The versatility of large knotless braids also makes them perfect for experimenting with different looks without damaging the natural hair. You can add beads, cuffs, colored extensions, highlights, or even ribbon accents to personalize your style. Depending on your braid map, these additions can either enhance symmetry or create a more playful, creative appearance.
In this guide, we will explore 11 Large Knotless Braids Map Ideas that show how different sectioning patterns can completely transform your final hairstyle. Each map idea is designed to help you understand not just how the braids look, but how they are structured, why they work, and what type of styling results they create.
Whether you’re planning your next protective hairstyle, looking for inspiration before your braiding appointment, or trying to communicate clearly with your stylist, understanding these mapping ideas will help you achieve a more professional and customized result.
From clean center parts and feed-in geometric patterns to creative triangular sections and versatile ponytail-focused layouts, these braid maps will help you choose a style that matches your face shape, lifestyle, and personal aesthetic. Once you understand how braid mapping works, you’ll realize that the design behind the braids is just as important as the braids themselves.
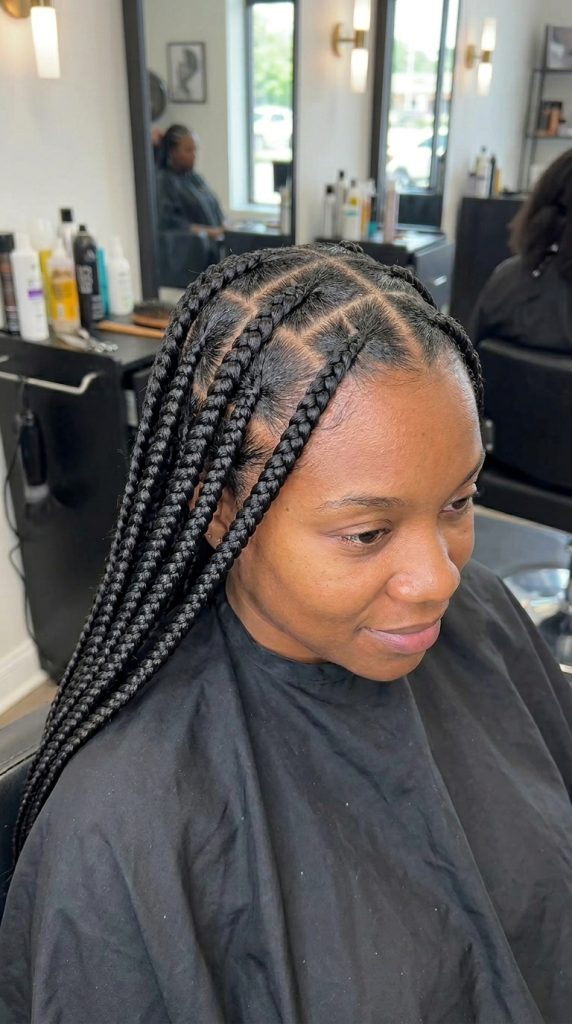
1. Straight-Back Jumbo Knotless Braids Map
What it is
The straight-back jumbo knotless braid map is one of the most classic and widely used sectioning patterns for large braids. In this design, the hair is parted into clean, vertical rows that move straight from the front hairline to the nape of the neck. Each section is large and evenly spaced, creating bold, uniform braids that flow naturally backward.

This map is popular because of its simplicity, speed, and timeless look. It is often the first style people try when switching to knotless braids because it is easy to maintain and requires minimal styling effort. Despite its simplicity, when done correctly, it looks extremely polished and professional.
The straight-back layout also helps protect the natural hair by keeping tension evenly distributed across the scalp. This reduces stress on the edges and makes the style more comfortable for long-term wear.
How to implement (step-by-step)
Start by thoroughly detangling the hair and applying a lightweight oil or moisturizer for scalp protection.
Create a clean center part or choose no part depending on preference.
Section the hair into large, even vertical rows from the front to the back using a rat-tail comb.
Secure each section with clips to maintain clean separation.
Begin braiding each section using the knotless technique, gradually feeding in extensions for a smooth base.
Repeat until all braids are complete, ensuring consistent braid thickness throughout.
Best for
This braid map works best for medium to long natural hair and is ideal for people who want a simple, low-maintenance protective style.
It is perfect for everyday wear, work environments, travel, and long-term protective styling.
Pro tip
Keep each section slightly curved near the hairline instead of perfectly straight. This helps the braids lay more naturally around the head shape.
Mistake to avoid
Avoid uneven section sizing. Even small inconsistencies in part width can make the entire braid pattern look unbalanced.
2. Middle Part Symmetrical Knotless Braids Map
What it is
The middle part symmetrical braid map is a highly structured and visually balanced design that divides the scalp into two equal halves. Each side mirrors the other perfectly, creating a clean and polished aesthetic. This map is especially popular for large knotless braids because it frames the face evenly and enhances symmetry.

This style has become a favorite on social media because it photographs extremely well. The middle part naturally highlights facial features, while the evenly spaced braids create a sleek, organized appearance.
It is often chosen by people who prefer a neat, fashion-forward look that works well with both casual and dressed-up outfits.
How to implement (step-by-step)
Begin by creating a precise center part from the front hairline to the nape of the neck.
Divide each side of the head into equal horizontal or vertical sections depending on desired braid direction.
Ensure each section on the left matches the size and spacing of the right side.
Clip sections carefully to maintain symmetry during installation.
Start braiding from the front sections and move toward the back, keeping tension consistent across both sides.
Best for
This braid map is ideal for people who want a sleek, symmetrical look that enhances facial structure.
It works best for fashion styling, photo shoots, events, and everyday wear with a polished appearance.
Pro tip
Always start braiding from the front sections first. This ensures the most visible parts of the hairstyle remain perfectly balanced.
Mistake to avoid
Avoid rushing the parting process. Even slight asymmetry in the center part can affect the entire look of the style.
3. Triangle Part Large Knotless Braids Map
What it is
The triangle part braid map is a more creative and modern approach to large knotless braids. Instead of straight lines or rectangular sections, the hair is divided into triangular shapes across the scalp. Each triangle forms the base of a braid, creating a visually interesting and dynamic pattern.
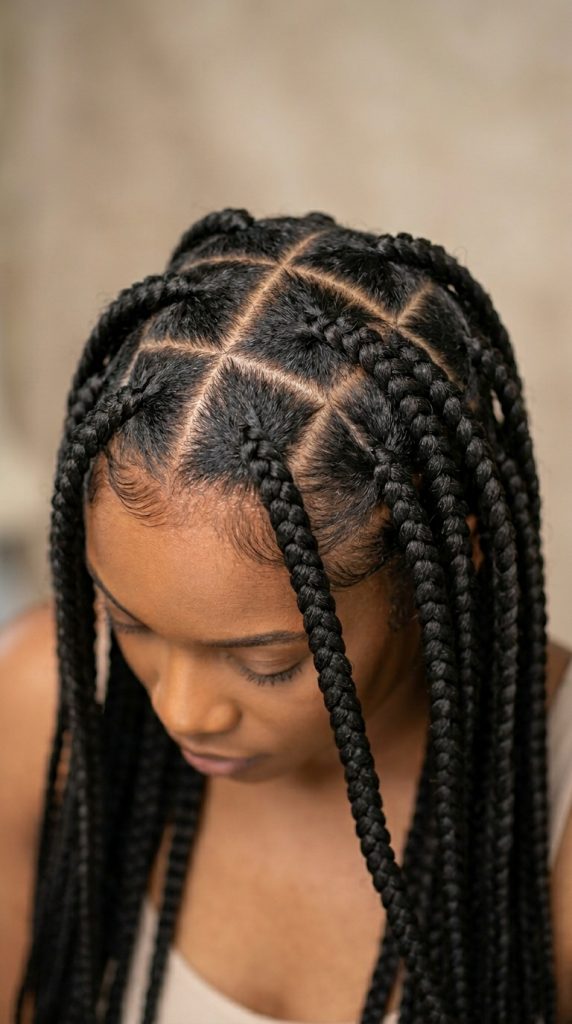
This design adds personality and uniqueness to the hairstyle while still maintaining structure and balance. It is especially popular among people who want their braids to stand out beyond the traditional straight-back or box patterns.
Triangle parts also help distribute hair more evenly, which can improve comfort and reduce tension in certain areas of the scalp.
How to implement (step-by-step)
Start with detangled, moisturized hair.
Use a rat-tail comb to create triangular sections across the scalp, starting from the hairline and working toward the back.
Make sure each triangle is consistent in size for a uniform final look.
Clip each section carefully to prevent mixing.
Begin knotless braiding each triangle section, feeding in extensions gradually for smooth blending.
Continue until all sections are completed.
Best for
This braid map is perfect for people who want a stylish, trendy, and slightly more artistic braid pattern.
It works well for fashion-forward looks, social media styling, and expressive personal style.
Pro tip
Slightly vary triangle orientation near the crown to better match head shape and avoid awkward spacing.
Mistake to avoid
Avoid making triangles too small or too irregular. Poorly shaped sections can make the final braid pattern look messy instead of artistic.
4. Side-Swept Diagonal Knotless Braids Map
What it is
The side-swept diagonal knotless braids map is a stylish and modern sectioning pattern where braids are created in angled lines instead of straight vertical or horizontal parts. The sections flow diagonally across the scalp and naturally guide the braids toward one side of the head, creating a soft sweeping effect.

This map is especially popular for large knotless braids because it adds movement and dimension to the hairstyle even before styling. Instead of a rigid structure, the diagonal layout creates a more dynamic and fashion-forward finish that feels intentional and visually interesting.
One of the biggest advantages of this map is how it frames the face. Because the braids naturally lean toward one side, they highlight facial features in a flattering way and create a soft asymmetry that photographs beautifully.
How to implement (step-by-step)
Start with clean, detangled, moisturized hair.
Decide the direction you want the braids to sweep (left or right side).
Using a rat-tail comb, create diagonal partings starting from one side of the front hairline and moving toward the opposite back section.
Keep each diagonal section consistent in width to maintain balance.
Clip each section carefully so the pattern remains clean during installation.
Begin knotless braiding each section, ensuring all braids follow the same directional flow.
Best for
This braid map works best for medium to long hair and is ideal for people who want a softer, more stylish alternative to straight-back braids.
It is perfect for fashion looks, photoshoots, events, and everyday wear with a trendy finish.
Pro tip
Make the diagonal angle slightly curved instead of sharply straight. Soft curves create a more natural flow that blends better with the shape of the head.
Mistake to avoid
Avoid inconsistent angles between sections. Even small changes in direction can break the visual flow of the entire style.
5. Zig-Zag Knotless Braids Map
What it is
The zig-zag knotless braids map is a bold and creative sectioning pattern that uses angular, zig-zag-shaped parts instead of traditional straight or curved lines. This design creates a striking scalp pattern that becomes part of the hairstyle’s overall aesthetic.

This braid map is popular among people who want their hairstyle to stand out even before the braids are styled. The zig-zag pattern adds personality, edge, and uniqueness, making it a favorite for social media-friendly looks.
Even though it looks complex, the structure actually helps distribute sections evenly across the scalp, which can improve balance when done correctly.
How to implement (step-by-step)
Start with detangled, product-prepped hair.
Using a rat-tail comb, begin creating zig-zag partings starting at the front hairline.
Follow a consistent pattern—sharp angles that alternate direction evenly across the scalp.
Ensure each zig-zag section is similar in size for uniform braids.
Clip each section carefully to preserve the pattern during installation.
Proceed with knotless braiding each section, maintaining clean separation between parts.
Best for
This braid map is ideal for people who want a bold, expressive, and trendy protective hairstyle.
It works especially well for fashion styling, festivals, photoshoots, and statement looks.
Pro tip
Keep the zig-zag angles moderate rather than extremely sharp. Softer zig-zags are easier to braid and look more polished on the scalp.
Mistake to avoid
Avoid uneven spacing between zig-zag points. Irregular patterns can make the design look messy instead of structured.
6. Feed-In Curved Flow Knotless Braids Map
What it is
The feed-in curved flow knotless braids map is a soft, elegant sectioning technique where the parts follow gentle curved lines across the scalp instead of straight or angular shapes. These curves create a natural flow that complements the shape of the head and enhances the smooth appearance of large knotless braids.

This map is especially loved for its organic and graceful finish. Unlike rigid patterns, curved parts make the hairstyle feel softer and more natural while still maintaining structure and balance.
The curved flow also helps braids lay more comfortably, especially around the crown and sides, making it a practical choice for long-term wear.
How to implement (step-by-step)
Begin with clean, moisturized, and detangled hair.
Using a rat-tail comb, create soft curved sections starting from the front hairline and sweeping toward the back.
Ensure each curve mirrors the previous one for a consistent flow pattern.
Keep section sizes even so the braids remain balanced in thickness.
Clip each section to maintain separation during installation.
Start knotless braiding each curved section, feeding in extensions gradually for a smooth transition.
Best for
This braid map is perfect for people who prefer soft, elegant, and natural-looking braid patterns.
It works well for everyday wear, special occasions, and anyone who wants a more feminine and flowing hairstyle design.
Pro tip
Match the curvature direction with your desired styling direction (ponytail, bun, or free-flowing). This ensures easier styling after installation.
Mistake to avoid
Avoid making curves too tight or uneven. Harsh curves can distort the braid direction and reduce the smooth flow effect.
7. Heart-Shape Knotless Braids Map
What it is
The heart-shape knotless braids map is a creative and highly detailed sectioning pattern where parts are designed to form subtle heart-like shapes on the scalp. This is not just a hairstyle—it is a statement design that blends artistry with protective styling.

This map has gained popularity on social media because it turns the scalp into a visual feature, not just a foundation. When large knotless braids are installed over heart-shaped sections, the result is a soft, romantic, and highly aesthetic pattern that stands out in photos and videos.
Despite its decorative appearance, the structure still maintains balance and scalp coverage, making it both stylish and functional.
How to implement (step-by-step)
Start with clean, detangled hair and lightly moisturize the scalp.
Using a rat-tail comb, begin creating curved sections that form the top lobes of a heart near the crown or front hairline.
Carefully bring the curves together into a pointed section to complete the heart shape.
Repeat this pattern across the scalp while keeping spacing consistent.
Clip each section securely so the design stays intact during braiding.
Proceed with knotless braiding each section, ensuring clean part visibility.
Best for
This braid map is ideal for people who want a unique, artistic, and Instagram-ready hairstyle.
It works best for fashion styling, special occasions, birthdays, festivals, and content creation.
Pro tip
Keep heart shapes slightly soft and rounded rather than sharp for a more natural and wearable look.
Mistake to avoid
Avoid making hearts too large or unevenly spaced, as this can disrupt the overall balance of the braid pattern.
8. Stitch Feed-In Knotless Braids Map
What it is
The stitch feed-in knotless braids map is a clean and structured sectioning method where each braid section is divided into precise “stitch-like” segments before braiding begins. This creates a sharp, defined look that enhances the neatness of large knotless braids.
Unlike free-flowing or curved maps, the stitch pattern focuses on precision and symmetry. Each section looks like it has been carefully measured and aligned, giving the final hairstyle a sleek and professional finish.
This map is especially popular for people who prefer a polished, runway-inspired braid look.
How to implement (step-by-step)
Begin with detangled and lightly stretched hair.
Using a rat-tail comb, create straight sections and then subdivide them into smaller, equal “stitch” segments along each row.
Keep spacing consistent to ensure uniform braid thickness.
Clip each section separately to maintain clean lines.
Start knotless braiding each section, feeding in extensions gradually while maintaining tension control.
Continue until all sections are completed.
Best for
This braid map is perfect for people who love sleek, structured, and highly polished braid styles.
It works well for professional settings, fashion looks, photoshoots, and long-term protective styling.
Pro tip
Pre-measure sections before fully parting the scalp. This ensures better symmetry and reduces corrections later.
Mistake to avoid
Avoid uneven stitch spacing. Even slight inconsistencies can become very noticeable once braids are finished.
9. Crown Focus Knotless Braids Map
What it is
The crown focus knotless braids map is designed to highlight the top center area of the head, creating a visually elevated and balanced braid structure. The sections are arranged in a way that naturally draws attention upward toward the crown, giving the hairstyle a lifted and fuller appearance.

This map is especially useful for creating voluminous ponytails, buns, and updos later. By concentrating structure and symmetry at the crown, the braids naturally support styling versatility.
It is a favorite among stylists who want to create a strong foundation for multiple hairstyle options.
How to implement (step-by-step)
Start with clean, detangled hair and lightly stretch if needed.
Create a central focal section at the crown of the head.
Divide surrounding hair into radiating sections that expand outward from the crown point.
Ensure each section is balanced and evenly spaced.
Clip each part securely to maintain structure during braiding.
Begin knotless braiding starting from the crown and working outward in controlled sections.
Best for
This braid map is ideal for people who want styling flexibility, especially for ponytails, buns, and half-up styles.
It works well for long-term protective styling and active lifestyles.
Pro tip
Slightly increase section size toward the back to maintain natural head shape balance.
Mistake to avoid
Avoid overcrowding the crown area. Too many small sections can create unnecessary tension and reduce comfort.
10. Feed-In Feed-Forward Grid Knotless Braids Map
What it is
The feed-in feed-forward grid knotless braids map is a highly structured and professional-looking sectioning system where the scalp is divided into clean grid-like rows that move from the front hairline toward the back in a controlled, forward-flowing direction. Unlike freeform or curved maps, this design focuses on precision, alignment, and equal distribution across the entire head.

What makes this map special is its “feed-forward” logic. Each braid is planned in a way that naturally supports forward styling options like ponytails, low buns, or half-up looks. The grid structure ensures that every braid sits evenly, which creates a clean, salon-level finish that looks balanced from all angles.
This is one of the most reliable maps for large knotless braids because it reduces confusion during installation and helps maintain consistency throughout the entire head.
How to implement (step-by-step)
Start with fully detangled, stretched hair for clean parting.
Using a rat-tail comb, create horizontal rows from front to back, forming a grid structure.
Divide each row into evenly sized vertical sections to create uniform square or rectangular parts.
Keep spacing consistent so that each braid has equal thickness.
Clip each section carefully to avoid mixing during installation.
Begin knotless braiding each section, maintaining consistent tension and direction throughout the grid.
Best for
This braid map is ideal for people who want a clean, symmetrical, and highly organized braid pattern.
It works best for professional styling, everyday wear, long-term protective styles, and people who prefer structured looks.
Pro tip
Always start from the front rows first. This ensures the most visible braids remain the most precise and symmetrical.
Mistake to avoid
Avoid uneven grid spacing. Even small inconsistencies in section size can break the clean visual structure of the entire style.
11. Free-Part Large Knotless Braids Map (Natural Flow Method)
What it is
The free-part large knotless braids map is a more natural and flexible sectioning technique where the hair is not divided into strict geometric shapes. Instead, parts are created based on the natural fall and density of the hair, resulting in a softer, more organic braid pattern.

This method is often chosen by people who want a low-maintenance and relaxed aesthetic. Instead of perfectly straight or symmetrical parts, the scalp shows gentle variation that gives the hairstyle a more effortless and lived-in look.
Despite its relaxed appearance, this map still requires control and planning to ensure braids are evenly distributed and not overly concentrated in one area.
How to implement (step-by-step)
Start with clean, detangled, and lightly stretched hair.
Instead of creating strict shapes, section the hair based on natural parting lines and hair density.
Adjust section sizes manually to ensure overall balance across the head.
Clip sections loosely while maintaining awareness of overall symmetry.
Begin knotless braiding each section, allowing slight natural variation in part direction.
Continue until the full head is completed, adjusting spacing as needed for balance.
Best for
This braid map is ideal for people who prefer soft, natural-looking protective styles.
It works well for casual wear, travel, low-maintenance styling, and relaxed aesthetic looks.
Pro tip
Step back frequently during parting to check overall balance. Even freeform styles need visual harmony from a distance.
Mistake to avoid
Avoid letting the free-part method become completely unplanned. Too much randomness can lead to uneven braid distribution and uncomfortable tension points.